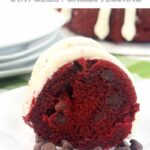
Is red velvet cake the queen of cakes? It certainly is pretty, with it striking deep red color. And if it’s an easy to serve red velvet Bundt cake with smooth, fluffy cream cheese frosting, all I can say is pass me a slice!
I make a lot of Bundt cakes, because they’re so easy to slice and serve. I developed this gorgeous but simple red velvet Bundt cake recipe for my daughter Katie’s birthday. She was born in February, so she’s a Valentine’s baby.
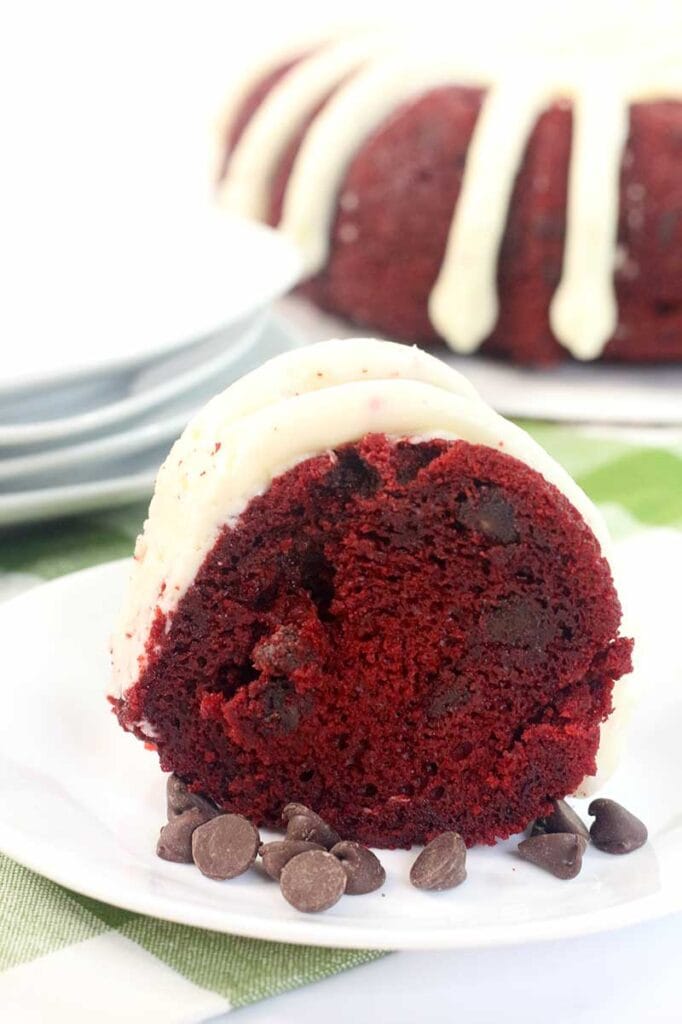
Red Velvet Bundt Cake
This red velvet Bundt cake starts with a cake mix, but the recipe is different from the one on the box. It has loads of “secret ingredients” to make it moist and rich, with a light, velvety texture. A Bundt cake is usually has a moist, springy texture. It should hold together without being dense.
This red velvet Bundt cake recipe went through a lot of trial and testing. I tried recipes with with mayonnaise (too oily, too salty) and with sour cream (good, but a little rubbery). The best result came from adding instant pudding mix, buttermilk, and an extra egg.
Buttermilk is a magical ingredient that makes baked goods moist and tender. I love it in pancakes, Foolproof Buttermilk Biscuits, and Cast Iron Skillet Cornbread. I love to use it as a marinade for chicken, like I do when I make Crazy Crumb Oven Fried Chicken Fingers.
Making this red velvet Bundt cake is super simple. Start by spraying a 12-cup Bundt pan with non-stick spray. I like to use a baking spray like Baker’s Joy. Place a rack in the middle of the oven, and preheat to 350 degrees F.
Next, dump the ingredients into a mixing bowl, or the bowl of a stand mixer. Stir until combined, using the paddle attachment of the stand mixer or a hand-held electric mixer.
Scrape down the sides of the mixing bowl with a rubber spatula, then beat the batter 2-3 minutes more until smooth and fluffy. Pour the cake batter into the prepared Bundt pan, and level it out with a spatula.
The one tricky thing about making this cake is mixing in the chocolate chips. I like to use milk chocolate chips for this recipe, but you can use dark chocolate, white chocolate, or a mix.
Sprinkle the chocolate chips on top of the cake batter in the pan. Mix lightly with a butter knife or skinny spatula, swirling the knife until the chocolate chips are just barely mixed in. Try to avoid having the chocolate chips sink to the bottom, because they might burn and stick to the pan.
Bake your red velvet Bundt cake for 45-50 minutes. If your oven runs a little hot, like mine does, check your cake after 40 minutes.
When it’s done, the top of the cake should spring back when touched lightly with your finger. You can also check for doneness by inserting a toothpick or wooden skewer. The cake is done if there’s no wet batter sticking to the skewer.
Let the cake cool in the pan for 10-20 minutes. Place a cooling rack on top of the pan, then carefully flip the pan and the rack over. Your cake should come out onto the rack.
Sometimes getting a Bundt cake out of the pan can be a little tricky! If you’ve never done it before, or if you think your cake is stuck to the pan, read this helpful article:
How to remove cake from a Bundt pan
Let your cake cool fully on the rack. While it’s cooling, make the cream cheese frosting, following the recipe below.
The “secret ingredient” to this cream cheese frosting is butter vanilla bakery emulsion. I love to use bakery emulsions rather than extracts for frosting and baked goods. I always use it in my No-Fail Buttercream Frosting.
For years a friend who is an expert baker who told me to use bakery emulsion in my frosting instead of typical vanilla extract. When I finally did it, I couldn’t believe what a difference it made. Something about it took the flavor of my frosting from great to outstanding, and I’ve never gone back to vanilla extract.
If you don’t want to buy bakery emulsion, use vanilla extract, and your frosting will still be super tasty.
I like to pipe cream cheese frosting onto a Bundt cake using a “petal” pattern. I’ve copied this technique from Nothing Bundt Cakes, a national chain bakery that makes fabulous Bundt cakes. To see the frosting technique, watch this video:
Nothing Bundt Cakes frosting technique
Some pieces of equipment that make frosting a Bundt cake easier are a cake decorating turntable and a pastry bag with jumbo tips.
Another great option is to pipe rosettes onto the top of the cake. For a tutorial on how to pipe rosettes, check out this video:
If you want to see some truly fabulous Bundt cakes with piped frosting, follow the Instagram account @thebundtshoppe.
This red velvet Bundt cake is perfect for birthdays, Valentine’s day, family dinners, or any special occasion. It also looks great as a Christmas cake with red and green sprinkles.
I hope you love this red velvet Bundt cake recipe! If you try it, please leave a comment!
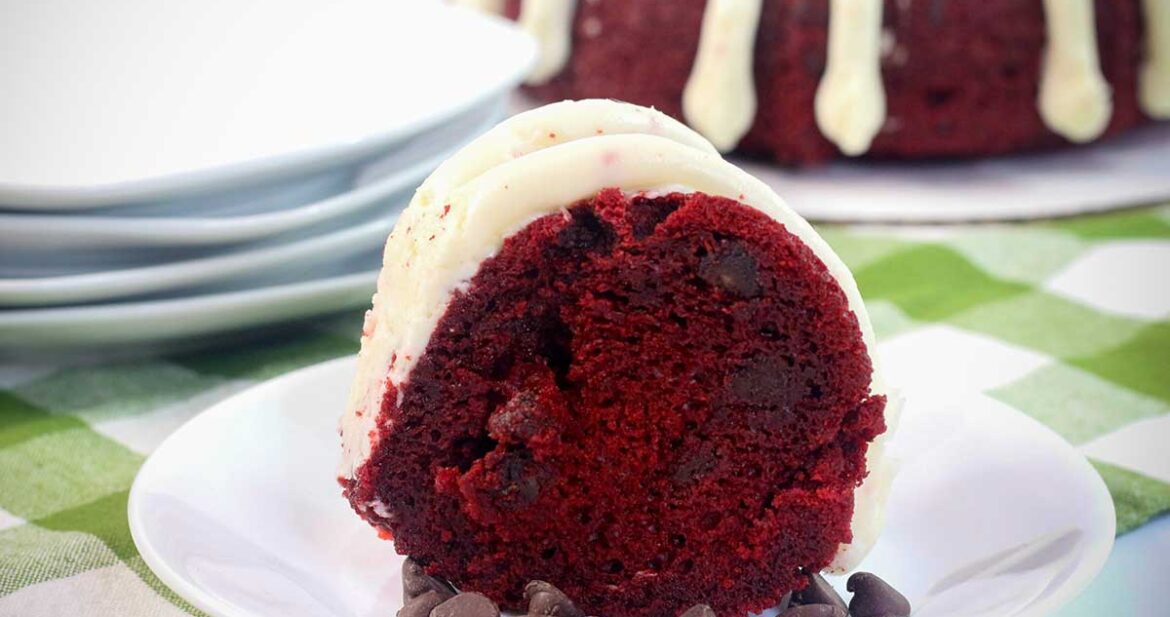
Red Velvet Bundt Cake with Cream Cheese Frosting
Equipment
Ingredients
For the cake:
- 1 box red velvet cake mix see notes
- 1 package white chocolate or vanilla instant pudding mix 3.3 oz. or 4 serving size
- 4 large eggs
- 1 cup buttermilk
- 1/2 cup warm water
- 1/2 cup vegetable oil such as corn or canola oil
- 1 1/2 cups milk chocolate chips see notes for substitutions
For the frosting:
- 1 package 8 oz. cream cheese, room temperature
- 1 stick 1/2 cup unsalted butter, room temperature (see notes to substitute salted butter)
- 6-8 cups powdered sugar
- 1 teaspoon butter vanilla bakery emulsion or substitute vanilla extract
- 1/8 teaspoon salt
- 2 tablespoons whipping cream
- 1 tablespoon cornstarch optional, see notes
Instructions
Make the cake:
- Place a rack in the center of the oven. Preheat the oven to 350 degrees F.
- Generously spray a 12-cup Bundt pan with baking spray (like Baker’s Joy) or nonstick cooking spray.
- Put the cake mix, pudding mix, eggs, buttermilk, warm water, and oil in a large mixing bowl or the bowl of a stand mixer.
- Mix all the ingredients on low (using the whisk attachment of a stand mixer, or a hand-held electric mixer) for one minute until combined. Stop the mixer and scrape down the sides of the bowl with a rubber spatula.
- Continue to mix on medium for 2-3 more minutes until the batter is thick and somewhat fluffy.
- Pour the batter into the prepared Bundt pan, and use the spatula to make sure the batter is even and level.
- Sprinkle the chocolate chips evenly over the top of the batter. Using a butter knife or thin spatula, lightly swirl the batter to mix in the chocolate chips. Try to avoid having the chocolate chips sink to the bottom of the pan.
- Bake the cake for 45-50 minutes, until the top springs back when pressed lightly with your finger.
- Let the cake cool in the pan for about 20 minutes. Invert onto a cooling rack, and let the cake cool completely.
Make the frosting:
- In the bowl of an electric mixer, add butter and cream cheese. Beat on medium speed with the whisk attachment for about 1 minute, until smooth.
- Add 1 cup of powdered sugar, and beat until combined. Repeat with 1 more cup of powdered sugar.
- Add whipping cream, bakery emulsion, and salt, and beat until combined.
- Add the remaining powdered sugar, one cup at a time, beating until combined after each addition, for a total of 6-8 cups, until the frosting is the texture you want.
- Optionally, if you want to thicken the frosting without adding more sugar, add up to 1 tablespoon cornstarch.
- Beat for 2-3 additional minutes, until frosting is smooth, thick, and fluffy.
Frost the cake:
- Pipe frosting onto the cake using a pastry bag and jumbo tip. This is easier if you put the cake on a cake decorating turntable.
- If you want to pipe Nothing Bundt Cake-style petals, use a jumbo round tip with the method shown in this video: https://www.youtube.com/watch?v=WjY4YThEuGU
- Alternatively, you could pipe rosettes onto the top of the cake using a jumbo star tip, as shown here: https://makemecake.me/hummingbird-bundt-cake-with-vanilla-bean-cream-cheese-frosting/
- If you need instruction for piping rosettes, this video is helpful: https://www.youtube.com/watch?v=GHxVh-Mp_Gg
- This recipe makes a generous amount of frosting. If you have leftover frosting, it will stay fresh in the freezer for up to 3 months in an airtight container.
Notes
Nutrition
Disclosures: The author was not compensated by any person or company for the content of this post. The post may contain affiliate links. If you buy a product using these links, we receive a commission. This helps with the cost of publishing recipes on this website.
For more recipes like this one, follow us on Pinterest, follow us on Twitter or like us on Facebook.


Leave a Reply