When I think of classic homemade buttermilk biscuits I think buttery, flaky, and simple… but if you’re familiar with the process of making homemade biscuits you’ll know it’s not always quite so simple. Once you start looking for the perfect buttermilk biscuit recipe you’ll find yourself caught in the middle of many arguments: shortening vs. butter, self-rising flour vs. all-purpose, pastry cutter vs. food processor…
While on the search for the perfect fool-proof buttermilk biscuits from scratch, I studied more than 20 different recipes, watched more videos than I can remember, and thought way more about biscuits than any one person should. My goal was to develop a fool-proof recipe that was delicious, flaky, relatively simple, and made with ingredients you most likely already have on hand, and this recipe ended up being one of my new favorites.
Canned biscuits are easy and all over Pinterest, but if you’ve never made homemade biscuits before I dare you to make these and taste the difference. Don’t be nervous, I’m here to guide you step by step.
The Ingredients
Buttermilk is (of course) the key ingredient in buttermilk biscuits, but I never have it on hand and when I do buy it, half the bottle ends up going bad before I can use it. I chose to use a buttermilk substitute instead of the real thing, adding a small amount of vinegar to milk and letting it sit for about 10 minutes.
Most biscuit recipes call for unsalted butter, but a recipe that calls for unsalted butter also calls for me to make an additional trip to the grocery store, which I’m not interested in. If you would prefer to use unsalted butter just add 1 teaspoon of table salt to the flour mixture.
I also chose to skip shortening in this recipe, which is really just a matter of personal preference. Of course biscuits aren’t a health food, but I generally try not to use shortening unless absolutely necessary.
The Process
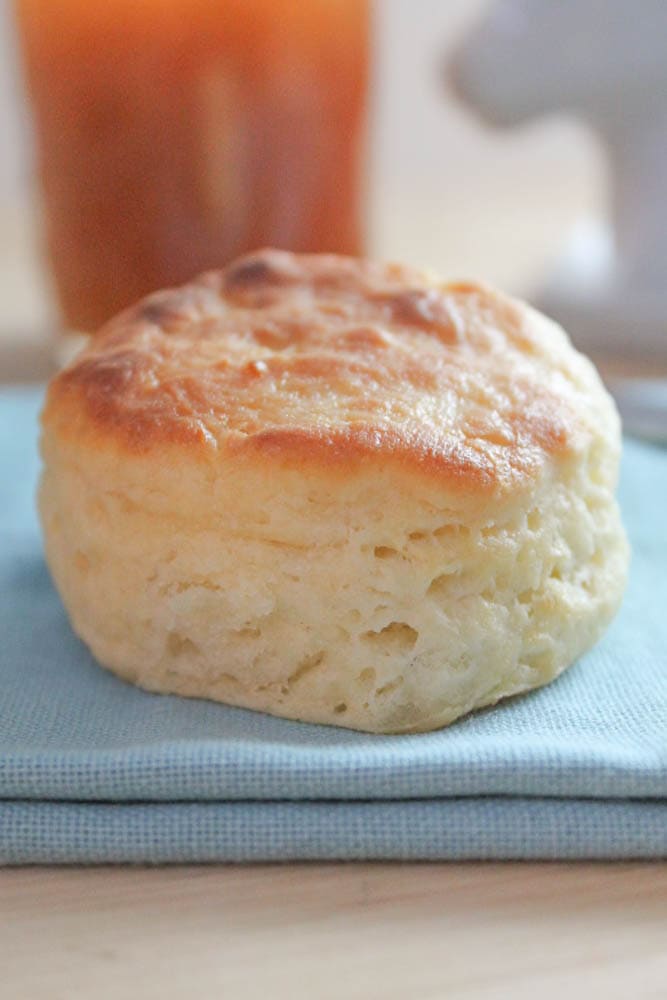
The cardinal rule of buttermilk biscuit making is don’t overwork the dough, but it is possible to under-work it. Southern Living suggests that 15 stirs is the perfect number of times to stir your dough, but because the dough starts to really come together at the end and becomes a little difficult to stir, I say 15-18.
If rule #1 of making buttermilk biscuits is don’t overwork the dough then rule #2 is don’t twist the cutter. For some reason twisting the cutter just feels right, but when you do the edges of the dough are sealed, preventing maximum rise.
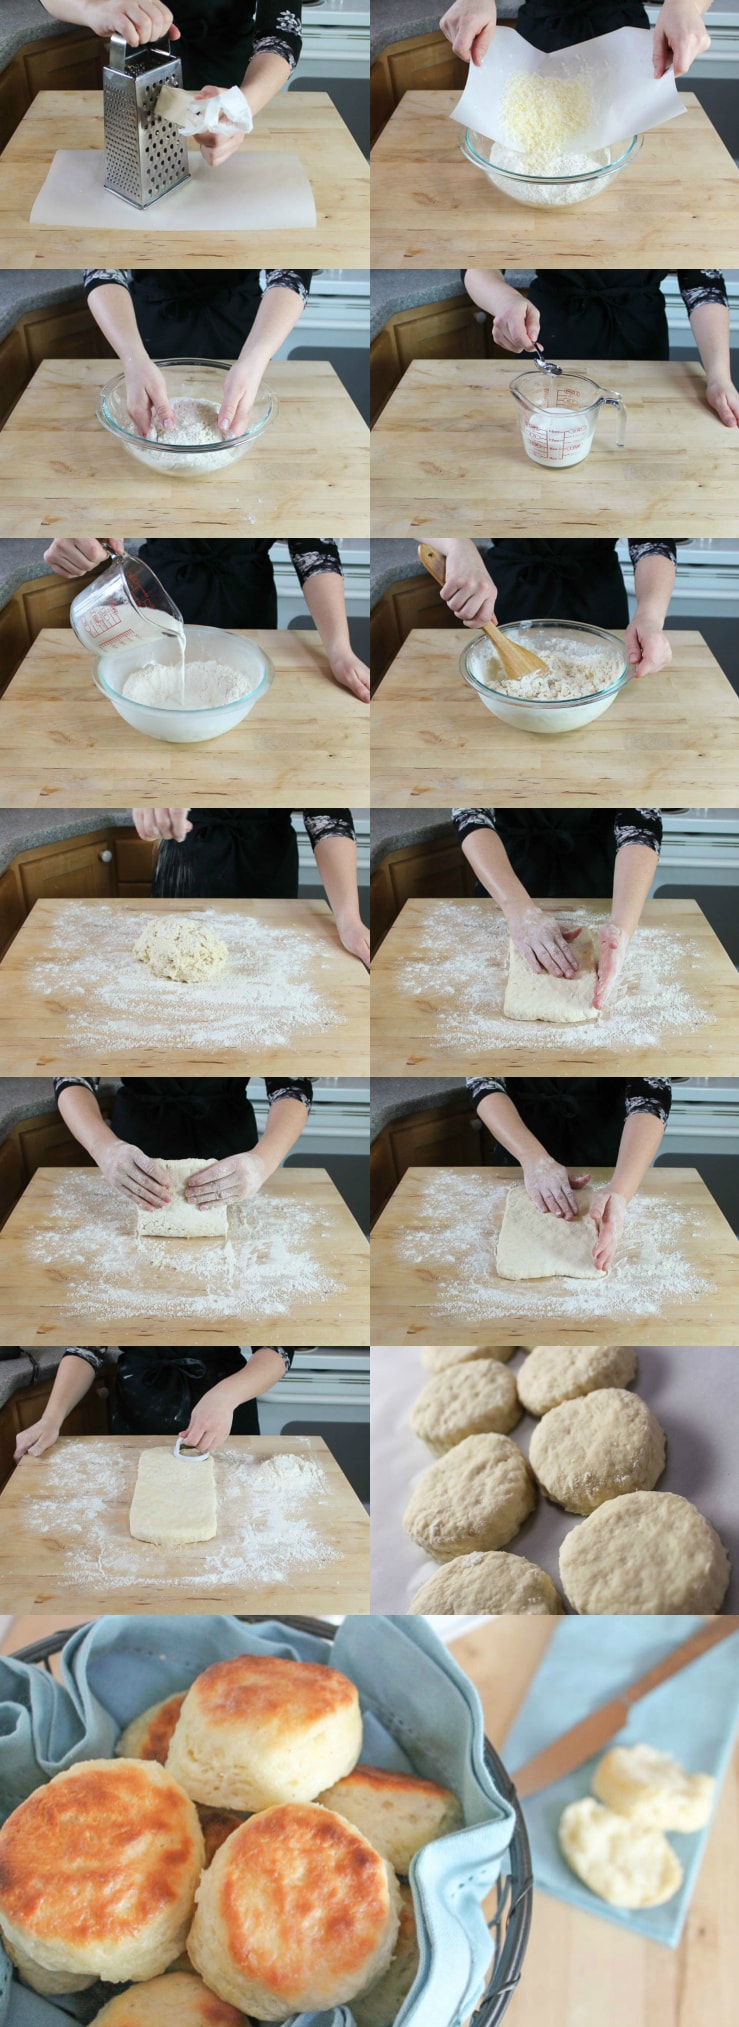
Most people use a pastry cutter to combine the butter with the dry ingredients in a buttermilk biscuit recipe; some people use a food processor. I say skip them both and use a cheese grater instead. It’s the easiest way to easily distribute the fat into the flour mixture and keep the butter cold at the same time. This recipe requires a whole stick of frozen butter, but only 6 out of 8 tablespoons go directly into the dough. The reason you don’t want to cut the 2 tablespoons off of the stick before grating is that the easiest way to grate the butter is to keep the stick whole, peel back the wrapping to the beginning of the 7 tablespoon mark and grate it down until there are only 2 tablepoons left. It keeps your hands clean and keeps you from slicing your fingers on the cheese grater.
Some argue that you must roll your buttermilk biscuit dough out with a rolling pin because the heat of your hands will warm up the butter, and your biscuits won’t be flaky. Others say you must use your hands because using a rolling pin will activate too much gluten and your biscuits will be tough. I personally prefer to use my hands to press out and shape the dough. It’s much easier to manipulate the dough and I think freezing the dry ingredients and butter makes up for any added heat from your hands.
The baking time on this recipe can vary depending on what size cutter you choose to use. Today I chose to use my 2.25 inch diameter biscuit cutter from my Norpro 3490 Scallop Biscuit and Cookie Cutter set. But I’ve always had good luck using my favorite all-purpose round cutters from the Ateco 5357 11 piece round cutting set
. You can choose to make your biscuits larger or smaller in diameter, based on the cutter you use. Just adjust the baking time as needed, remembering that the most important indicator is if the biscuits are lightly browned on top.
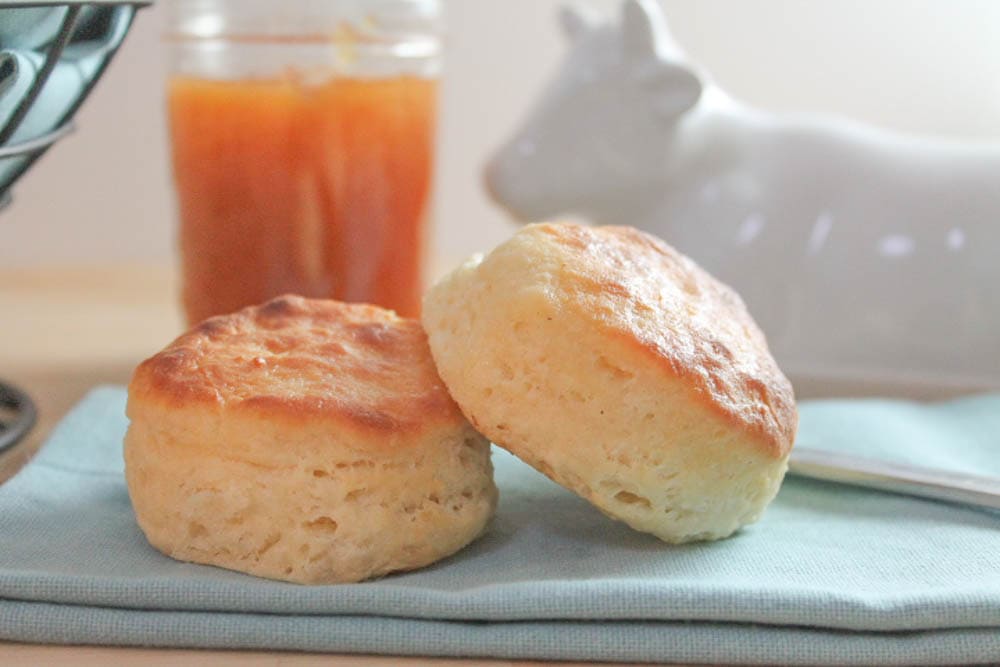
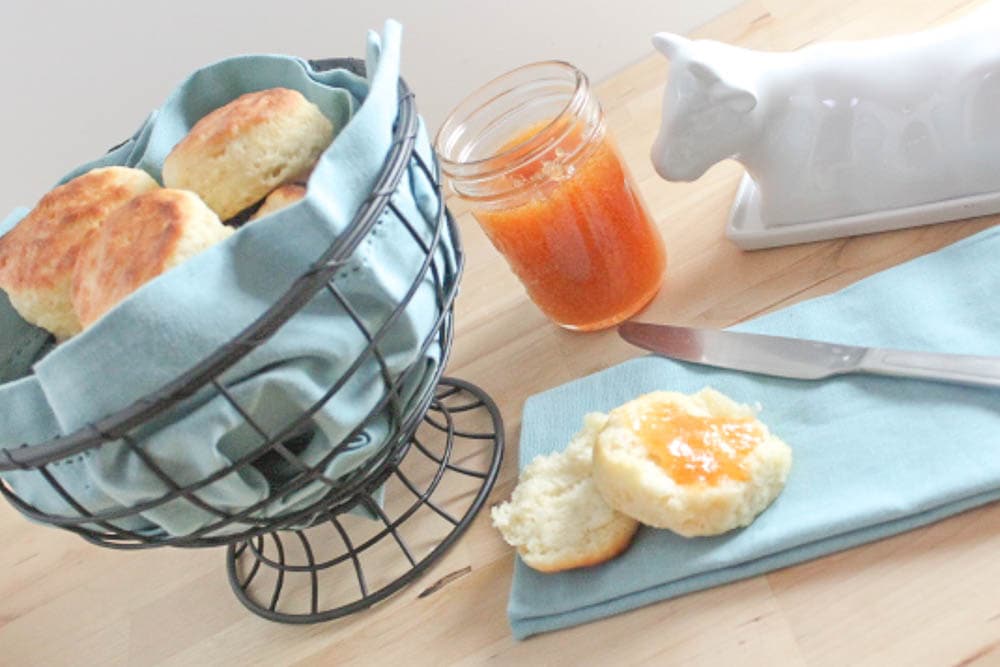
I love to serve these with homemade jam, or as a side dish for a roasted chicken or turkey with gravy. Honestly, they’re so delicious you can serve them however you want!
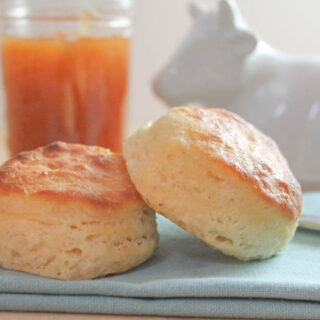
Fool-Proof Buttermilk Biscuits from Scratch
Equipment
Ingredients
- 2 cups all-purpose flour + additional for rolling
- 3 teaspoons baking powder
- ¼ teaspoon baking soda
- 1 cup milk cold
- 4 teaspoons white vinegar
- 1 stick 8 tablespoons of salted butter, frozen
Instructions
- In a mixing bowl combine flour, baking powder, and baking soda.
- Using a box cheese grater placed over a piece of parchment paper, grate 6 of the 8 tablespoons of frozen butter, reserve the remaining 2 tablespoons for later (no need to keep it cold).
- Add the grated butter to the flour mixture and gently combine using your hands. Place the bowl of flour mixture in the freezer.
- Measure 1 cup of milk into a bowl and add the vinegar. Let it sit for 10 minutes.
- After the 10 minutes, remove the bowl from the freezer, make a well in the butter and flour mixture and pour the milk mixture into the well. Gently stir the mixture with a wooden spoon about 15-18 times until the dough is fully combined, but still slightly sticky and lumpy.
- Place dough on a lightly floured surface and sprinkle a little additional flour on top of the dough.
- With floured hands, gently pat the dough into a rectangle about 5.5 inches by 11.5 inches and ½ inch thick.
- Fold the dough over onto itself, then pat out that rectangle to its previous size. Repeat this process 4 more times (5 folds total). Cut biscuit shapes using a 2.25 inch diameter cutter, dipped in flour. Reshape leftover scraps to cut out more biscuits.
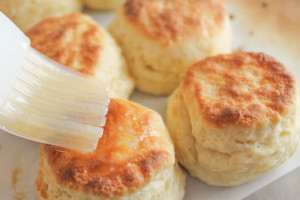
- Place the biscuits almost touching on a jelly roll pan lined with parchment paper and bake at 475 degrees on the center rack of the oven for about 15 minutes, or until lightly browned on top. While biscuits are cooking, melt remaining butter in the microwave. When biscuits are done remove from the oven, brush with melted butter, and serve.
Nutrition
Note: some of the links in this blog post are affiliate links, and we’ll earn a small commission if you purchase a product through those links. We have used all of the products above and recommend them because we really love and use them, not because of any commissions we may earn.
Reader Interactions
Comments
Trackbacks
-
[…] chicken fingers would taste amazing with Fool-Proof Buttermilk Biscuits, Incredible Easy Drop Biscuits , or Instant Pot Crispy Potatoes. They are perfect for kids […]
-
[…] is a magical ingredient that makes baked goods moist and tender. I love it in pancakes, Foolproof Buttermilk Biscuits, and Cast Iron Skillet Cornbread. I love to use it as a marinade for chicken, like I do when I make […]



I just have to chime in – If I buy buttermilk for a recipe and don’t use it all, I just freeze the rest of it in one-cup portions for next time I want to make a recipe using buttermilk.
How have I never thought of that? I freeze all kinds of other ingredients.
In your ” process” section above, you mentioned that you freeze the dry ingredients but in the ‘recipe’ instructions, you did not. I am wondering do you freeze the stick of butter only?, or do you freeze the dry ingredients as well prior to making the biscuits? Just curious……..the biscuits look SO GOOD!! ((-:
Thanks! There is no need to freeze the flour prior to starting the recipe (although I’m sure it wouldn’t hurt.) I only worry about freezing it once it’s been mixed with the butter.
I used unsalted butter because it’s what I always have on hand and they didn’t rise well and needed that extra saltiness. If I add salt to the flour, how much would you suggest? Thank you! BTW freezing the butter and grating it is ingenious!
Thanks, Julie! For 2 cups flour you would want 1 teaspoon salt. Also, if the biscuits didn’t rise, it’s possible your baking powder was expired. If it’s a year old or more, you should test it by stirring one teaspoon into a cup of hot water. If it fizzes, it’s still good.
Can I make these biscuits the day before and re-heat the next day?
Yes, they will be fine. Just keep them in an airtight container or wrap with plastic wrap or foil so they don’t dry out. When you want to reheat them, I would recommend putting them on a baking sheet, covering loosely with foil, and heating in a 350 degree oven for about 10 minutes or until hot.
Can you freeze these biscuits after or before the oven.
Hi, Viennetia! Yes, you can freeze cut biscuits and bake them later! This is great if you want to have pre-made biscuits in the freezer to bake any time. Put the cut, unbaked biscuits on a baking sheet in the freezer, and let them freeze all the way through so they don’t stick together. Then you can put them in a freezer bag for storage. Bake frozen biscuit dough on a baking sheet at 475 degrees for 8 minutes, then turn off the oven and leave the biscuits in the oven for another 5-8 minutes until they are browned and baked all the way through.
Hi! I tried this recipe 3 times. Every time was the same. To sticky to try to fold it. I don’t know what am I doing wrong. I followed every step, I checked expiration date in every one of my products.
Suggestions?
I guess is not fool proof ???
So frustrating! Remember you’re the cook & it’s fine to make adjustments!
I’m so sorry you are having trouble, Laura! If it’s too sticky, it’s too much milk or too little flour. Once I was having tons of trouble with a cake recipe, and I realized I had accidentally used a 3/4 cup measure thinking it was a 1 cup measure! Maybe it’s something like that? Anyway, you can always add more flour to get the right texture.
The recipe cals for 475 degrees temperature. My oven does not go up that much
Does your oven go to 450 degrees? Bake them at that temperature. It might take 2 or 3 minutes longer for them to get brown. Good luck, Helen!
I have baked them at 390 for 15 min and the’ve tured out great! Thank you for the recipe!
Wow! Thanks for letting us know, Helen! I’m glad they turned out well for you!
Best biscuits ever! I️ have been looking for years for a good biscuit recipe “found it”
That is so sweet, Jessie! Glad you enjoyed them!
So easy and nothing I need to run to grocery store to make it. (they are all around most of the time) It has been our favorite for a while now. Thank you for the great recipe!!
Thanks, Victoria! You’re making me want to bake up a batch right now!
Not using buttermilk, do you use whole milk (4%) or can you use 2% milk?
You can use either, but 2 percent milk is closer to the fat content of buttermilk.
A little confused— if you have good buttermilk wouldn’t you use it rather than milk + vinegar? Are you saying the milk + vinegar is superior to real buttermilk?
Thanks for asking, John! You can use either and get an equally good result.
Is there a reason why you say to use a wooden spoon? Wouldn’t any type of spoon work?
Hi, Sandra! No, you don’t have to use a wooden spoon. Use any kind of sturdy spoon or mixing spatula.
Thanks Marsha. I have seen references to wooden spoons in a number of recipes and wondered if there is something magical about using a wooden spoon compared to any other spoons. Thx again.
Such a good point, Sandra! Probably recipe writers are just thinking a wooden spoon is sturdy and most people have one.
I too have searched for the perfect biscuit recipe. After trying multiple recipes I stumbled on yours on Pinterest. When my husband tasted these, he told me to get rid of the other recipes, because these are the BEST!
So glad to hear that Doris! The compliment is very much appreciated.
The biscuits were light and flaky. The recipe was easy to follow.
This will be my “go-to”
Biscuit recipe from now on!
I’m so glad to hear it, Jan! Cheers!
In Love! My family loves biscuits & gravy on the weekend, thus I have been making a different biscuit recipe every weekend for a while. This came out tall and very able to stand up to a good ladle full of country gravy. In my freezer now are 6 sticks of butter and 6 ziploc bags of pre-measured dry ingredients. Biscuits will be a breeze from here on out!
That’s so smart! I love to hear that the biscuits were a hit with your family. May you enjoy many tasty breakfasts together 🙂