Last week, we had WAAAYYYY too much fruit in the house! My 18-year-old daughter Abby was in charge of grocery shopping while I was out of town, and she bought more strawberries than we could ever eat. In a way, it was a great problem to have, because it gave me a chance to make my favorite low sugar strawberry jam.
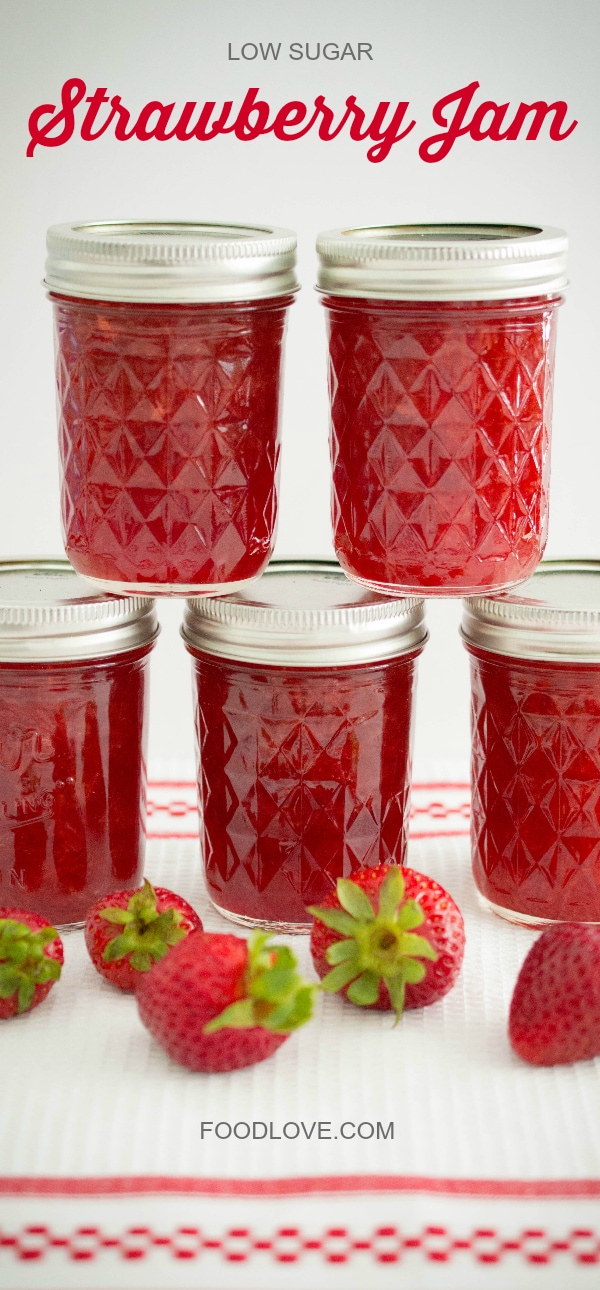
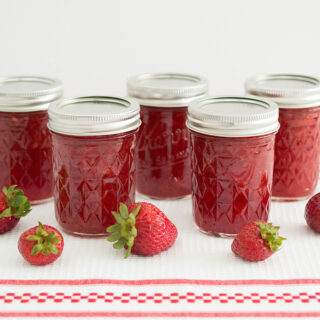
Low-Sugar Strawberry Jam in Mason Jars
Making your own jam is pretty easy, and once you try it, you will never want to go back to store bought jam. You will need a little bit of canning equipment:
- Water bath canner with canning rack
- 1/2 pint Mason jars with lids and rings
- Jar lifting tongs
- Canning funnel
- Magnetic wand for retrieving lids from hot water (optional)
You can easily find the jars, rings, canners and all the equipment at stores like Walmart (check out our Walmart Grocery Pickup Review) or many grocery stores, or you can order a canning kit, like this Ball Enamel Water Bath Canner with Utensils, from Amazon. Most people only have to buy this equipment once, and it lasts a lifetime. The one exception is the jar lids and rings, which have to be replaced.
You will also need some of your regular kitchen equipment for this recipe:
- Colander
- Potato masher
- Large, open pot, like a soup pot, for boiling the jam
- Wooden spoon or heat-proof silicone spatula, for stirring
- Large spoon for skimming
- Large liquid measuring cup
- Dry measuring cups and spoons
- Ladle
- Small ceramic plates
- Clean kitchen towels
Before you begin, inspect and wash 6-7 half-pint Mason jars. Run your finger around the rim of each jar to make sure it’s not chipped. A chipped jar won’t seal properly. After you inspect the jars, wash them in the dishwasher, or by hand with hot soapy water. Set the clean jars aside on a drying rack or clean kitchen towel.
Our mothers and grandmothers used to sterilize jars by boiling them for 10 minutes, but this isn’t necessary. The jars will be thoroughly sterilized during the water bath canning process.
Once the jars are clean, put 2 small ceramic plates in the fridge, because you will need those later for testing the jam.
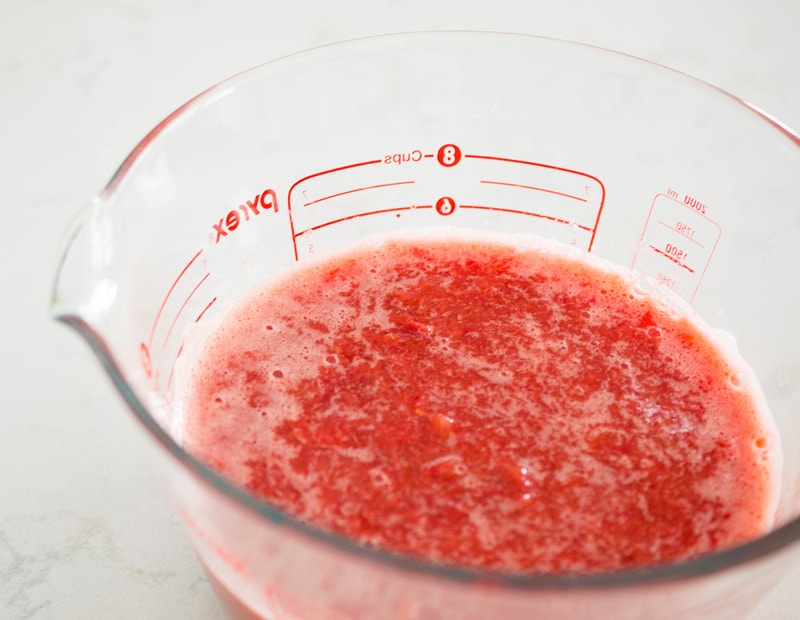
Next, wash and hull about 8 cups of fresh strawberries. Eight cups of fresh strawberries should yield 5 cups of mashed strawberries, which is what you need for this recipe. Obviously, the better tasting fruit you have, the better your jam will turn out. Even if your fruit is just okay and not amazing, though, the jam-making process adds a lot of flavor.
Cut the strawberries in half, put them in a big mixing bowl, and mash them with a potato masher. I like to use a large Pyrex measuring bowl, because I can see how much mashed fruit I have. Mash them up as fine as you want. I mash them a lot because I don’t like big chunks of fruit in my jam.
Low-Sugar Strawberry Jam
A key ingredient to low sugar jam is low sugar pectin. You can usually find this in grocery stores near where the canning supplies are. Pectin helps the jam thicken. Make sure you get the low sugar pectin and not the regular.
Low sugar pectin contains a mold inhibitor, which is needed for reduced sugar recipes. Many people don’t realize that the large amount of sugar in regular jam recipes acts as a preservative. So if you’re reducing the sugar, you need to use low sugar pectin.
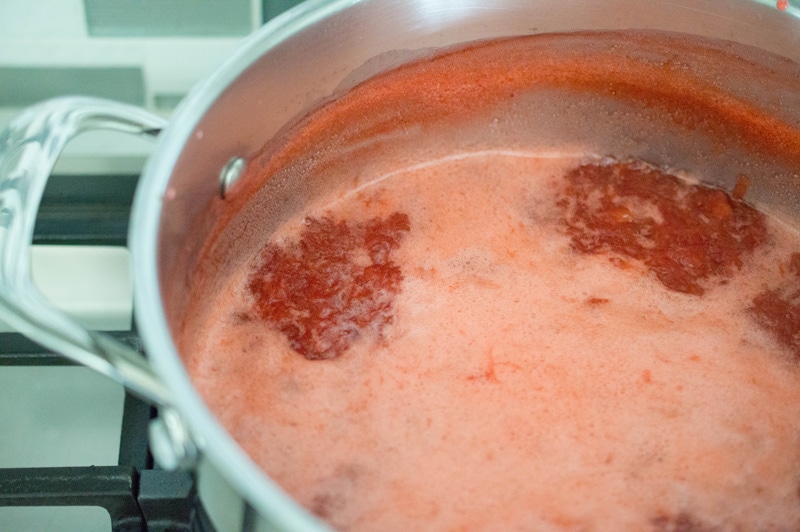
This recipe simply calls for fruit, sugar, lemon juice, and pectin. First, you’ll mix the fruit, lemon juice, pectin, and 1/4 cup of sugar in the pot, and bring that to a full boil. Then you’ll add the rest of the sugar to total 3 1/2 cups, and bring it back to a full boil for one minute. Keep stirring the whole time so it doesn’t burn.
Low-Sugar Strawberry Jam
Yes, 3 1/2 cups of sugar is a low sugar jam recipe! A regular jam recipe would call for 7 cups of sugar! Regular jam is more sugar than fruit. The way I look at low sugar strawberry jam is that it’s a lot of sugar per recipe, but not per serving. It has so much flavor that you’re not going to eat a lot at once.
You might notice that this recipe calls for less fruit and sugar than recipes written by the companies that sell pectin. I use a ratio of fruit to pectin that makes a relatively thick jam, which is what I like. This jam has a spreadable rather than a pourable consistency.
Once the jam has come to a hard boil a second time for a full minute, you can test its texture. Remove the jam from the heat, and take one of the cold plates out of the fridge. Pour a small spoonful of jam on the cold plate. If the jam thickens up to a texture you like, it’s done.

Low-Sugar Strawberry Jam
If it’s still too runny, boil it for another 2 minutes and test again. If it’s too runny after that, you might need to add another 1/4 box of pectin and boil again. (I’ve actually never had to do that.) This batch was perfect after the first test.
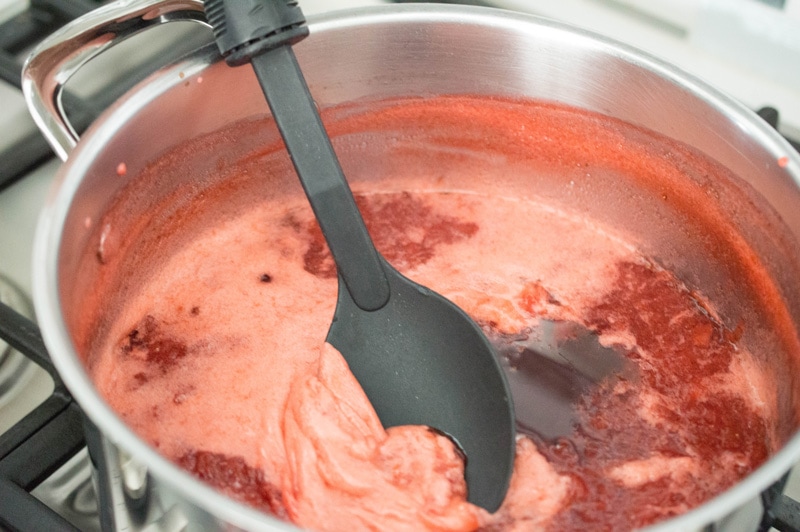
Once the jam is cooked, use a large spoon to skim off the foam. There’s nothing wrong with the foam, but it doesn’t look pretty.
Low-Sugar Strawberry Jam
After the foam has been skimmed, let the jam sit for 10 minutes or so, then stir. This will help distribute the fruit chunks so they don’t float to the top when the jam is in the jars.
While the jam is resting, get the lids ready. In decades past, Mason jar lids needed to be soaked in hot water before using. This step is no longer necessary. Just make sure the lids are clean and dust-free. I wash my lids and rings with hot water, and set them on a clean kitchen towel until I need them.
Fill the jam jars using a ladle and canning funnel. Make sure to leave about 1/4 inch of “headspace,” or empty space, at the top of the jar, so if the food expands during processing, the lid does not blow off!
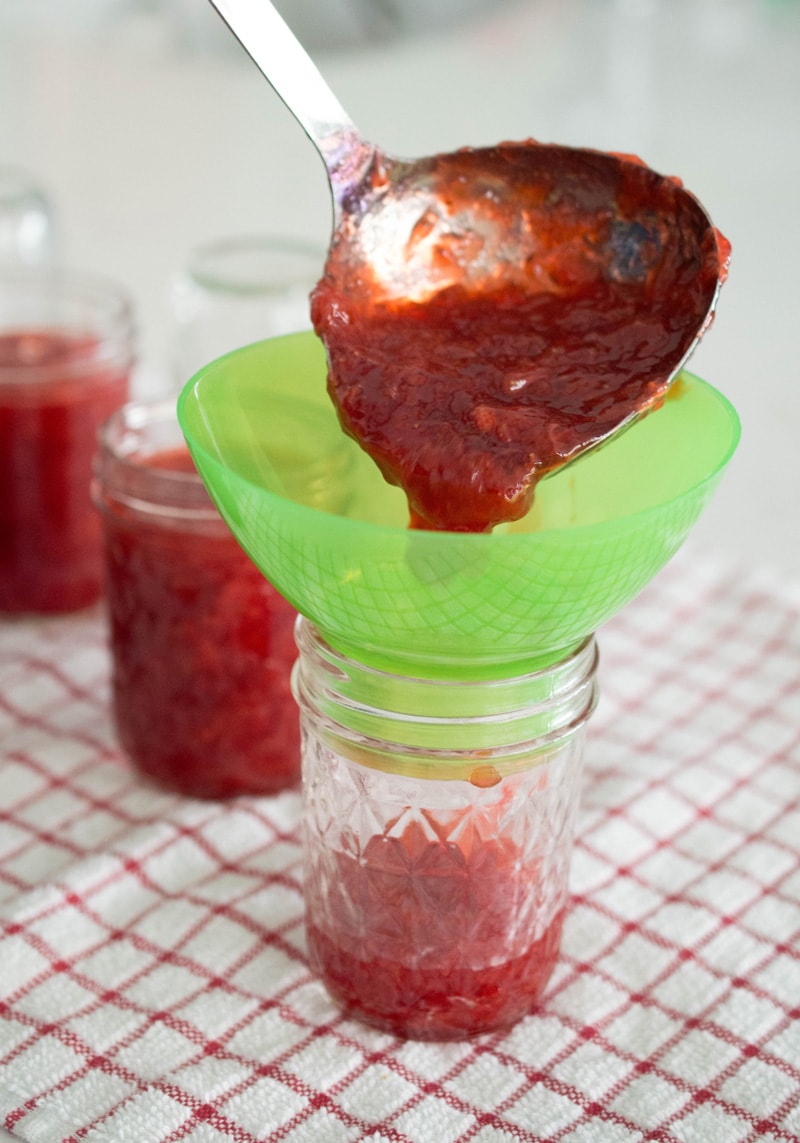
Low-Sugar Strawberry Jam
Wipe off the rims of the jars with a clean towel. Place the lids on the jars and secure with rings, but do not screw the rings on too tight.
Place the rack inside the water bath canner and fill with water. Place the jars carefully in the canner. The water should cover the tops of the jars by at least one inch. Follow the directions that come with your water bath canner.
Processing time depends on how far you are above sea level, so check the recipe below. At the end of the processing time, use the jar lifting tongs to remove the jars from the water, and set them on a clean towel. Let them sit undisturbed for several hours, so they can seal. You know they’re sealed when the center of the lid is depressed slightly and doesn’t move when you press it with your finger. You might hear a popping sound when the lids seal.
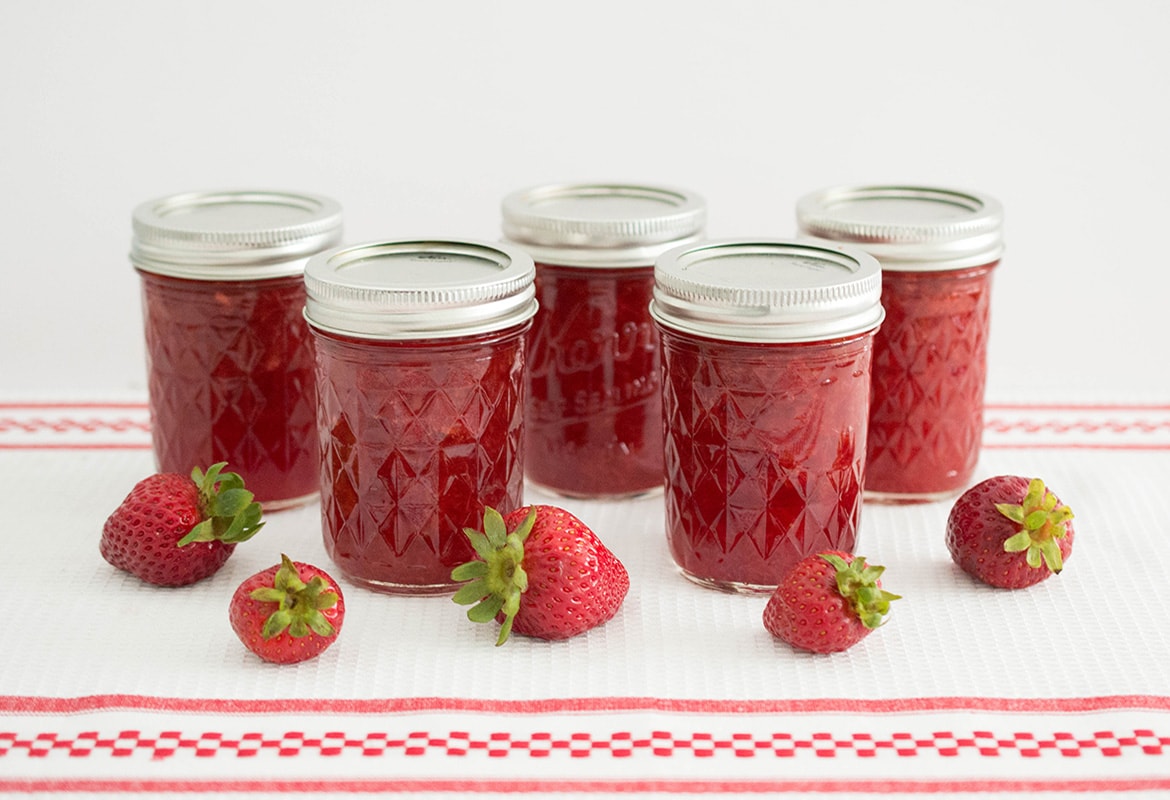
Making your own jam is totally worth the effort! Homemade jam also makes a great neighbor gift. Give it a try and let me know how it turns out!

Low-Sugar Strawberry Jam
Low-Sugar Strawberry Jam
Equipment


Ingredients
Ingredients
- 6 half-pint Mason jars with lids
- 8 cups whole raw strawberries to yield 5 cups mashed strawberries.
- 3 ½ cups white sugar
- 1 box low sugar pectin
- 4 tablespoons lemon juice either fresh or bottled
Equipment:
- Potato masher
- Ladle
- Large wooden spoon or silicone spatula for stirring
- Large wide pot like a soup pot for cooking
- Water bath canner
- Canning funnel
- Jar lifting tongs
Instructions
- Sterilize the jars by washing in the dishwasher on the sterilize cycle or immersing in boiling water for 10 minutes. Place clean jars on a clean towel. Put 2 small ceramic plates in the refrigerator, because you will need them later to test the thickness of the jam.
- Wash and hull the strawberries. Mash them with a potato masher. You can decide how fine or how chunky you want them. Measure the sugar, and reserve ¼ cup to mix with the pectin.
- Mix the pectin, lemon juice, and ¼ cup sugar in a small bowl or measuring cup.
- Place the strawberries in a large cooking pot, and add the pectin mixture. Over medium high heat, bring everything to a full boil that does not go down when stirred. Stir the entire time so the jam does not burn. At this point, add the rest of the sugar, stir well, and bring the jam back to a full boil for one minute. Turn off the heat and test the thickness of the jam by putting a small spoonful on a cold ceramic plate. If it’s thick enough, it’s done. If it’s too runny, add ¼ package more pectin, bring to a hard boil again for 1 minute, and test again with the second cold plate.
- Let the jam cool for 10 minutes, then stir to distribute the fruit. If the jam is too hot when you put it in the jars, the fruit chunks will float to the top. Meanwhile, place the Mason jar flat lids (not the rings) in very hot (not boiling) water to get them ready.
- Fill your jars, using the ladle and funnel, leaving 1/4 inch of clearance space at the top of the jar.
- Wipe the rims of the jars with a clean, damp towel. Place the lids on the jars and secure with rings. Do not screw the rings on too tight.
- Process the jars, following the instructions for your water bath canner. This jam requires 5 minutes processing at sea level, 10 minutes above 1000 feet altitude and 15 minutes above 6000 feet altitude.
- Remove the jars carefully with the jar lifting tongs, and set them on a clean towel. Leave them undisturbed for several hours or overnight to let them seal. You can tell they are sealed if the center of the lid is depressed slightly and does not move when pressed with your finger. Remove the rings so they don’t rust due to trapped moisture, or if you want to leave them on, at least remove them temporarily to make sure they are dry underneath. The jam lasts about a year in the pantry.
Nutrition
Disclosures: The author was not compensated by any person or company for the content of this post. The post may contain affiliate links. If you buy a product using these links, we receive a commission. This helps with the cost of publishing recipes on this website.
For more recipes like this one, follow us on Pinterest, follow us on Twitter or like us on Facebook.
Congratulations on the baby and thank you for such a wonderful recipe. I made it yesterday and it’s exceptional. Quick, easy, and very very tasty. I used two packages of 2 1-pound boxes of strawberries and they yielded 6.5 half-pint jars.
Thank you so much, Alexandra!
Thanks for this recipe! I Followed your recipe almost exactly. But the one change I made – now has me worried…I hope is ok for preservation of the jam. I know it’s tricky to change a recipe.
Instead of 3 1/2 cups of sugar…I used 1 1/2 cups sugar and one cup of swerve ((no calorie sweeter). The jam tastes great and it thickened nicely. I did have to use one extra tablespoon of the no/low sugar pectin.
I’m Just wondering if by making that change – it will effect shelf life?? Any thoughts?
Hi Jennifer – I’m glad the jam turned out well for you! It’s true that the sugar in traditional jam recipes acts as a preservative and extends the shelf life of jam. But if you used low/no sugar pectin and processed the jam as directed, you should be fine. Low/no sugar pectin products are designed to work even without sugar. They contain a mold inhibiting ingredient. From my experience, strawberry jam lasts about one year in storage. After that, it will start to turn brown. This probably goes without saying, but don’t use the jam if it’s moldy or seems spoiled.
Awesome recipe, thank you! I cringed at every single full sugar recipe I read. This turned out amazing. I pulsed my strawberries in the food processor, so I did add an extra tablespoon of pectin, but it worked out perfectly!
Thanks, Saralina! I’m so glad it turned out well for you! I agree – I get a little surprised by how much sugar is in regular jam recipes. I also think low sugar jam has more fruit flavor.
Absolutely! I hated jelly and jam all my life because of the over the top sweetness. I’m loving them now that I’m making them myself with soooo much less sugar!
As an FYI to anyone reading this, this recipe is my go to catch all. It has worked splendidly for EVERY single berry and now for grapes as well! Best recipe ever! Thank you so much, Marsha!
Thanks, Saralina!
Can this recipe be used with other fruit? I’m VERY allergic to strawberries but love the simplistic nature of this recipe.
Yes, absolutely! Check out my recipes for low sugar blueberry jam and low sugar raspberry jam. They are the same except for the type of fruit used. I have also used the same method for peach jam, peach vanilla jam, and cherry jam.
Super excited to try this recipe!! I’ve never made homemade jam (not even freezer jam! At 41 years old!) and I believe my girls (9 and 6) DESERVE to experience jam making!! Haha!! Especially with all the fantastic local berry farms we have here in WA. And bonus- being at sea level means we don’t have to wait so long for processing! 😉
Thanks for creating/sharing a “healthier” option for jam!
P.S. Congrats to you all on the new addition!
Thanks, Natalie – and have so much fun making jam with your girls! I have so many fond memories of making jam with my mom and grandma from fresh fruit grown by local farmers!