My husband’s brother got this recipe from a baker in Barcelona, where he lived for a couple of years. It gets its softness from a little bit of extra virgin olive oil, a typical Spanish ingredient.
Baking bread can be intimidating at first, and to be honest there are many ways to mess it up. But if you know a few baker’s secrets, you can create a beautiful loaf of bread to be proud of. These step-by-step instructions will help guide even a beginner baker.
Rustic Spanish Bread Step By Step
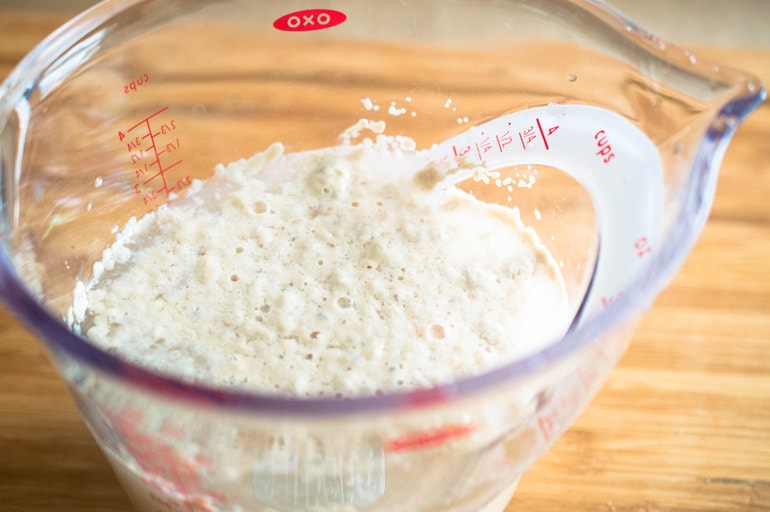
1. Begin the process by “proofing” the active dry yeast in warm water. Sprinkle the yeast over the water, stir, and let the mixture sit for about 10 minutes until it bubbles. Proofing is a way of making sure your yeast is still active. When added to warm water, the yeast expands and begins to form bubbles. The way my mom explained it to me when I was a little girl is that yeast is alive, and when you put it in water it grows.
The water temperature should be about 95 degrees, or body temperature. When I first started baking bread on my own, I couldn’t get it to rise properly, and it was always dense and flat. Finally, a friend told me my water was too hot. I was killing the yeast! The water shouldn’t feel like hot bath water but should be just a little warm. Use a thermometer to check the water temperature until you get used to what 95 degrees feels like.
2. This recipe uses 2 3/4 cups of water for 7 cups of bread flour, which is about the standard hydration ratio for “strong,” or high-protein, flour. I like to use a locally milled bread flour, but any bread flour is fine. You can also use all-purpose flour, which is lower in protein. If you use all-purpose flour, reduce the water to 2 1/2 cups. The dough for this bread is not wet, like a focaccia dough, and it’s not dry, like a ciabatta dough. It’s a medium weight, springy dough.
3. While the yeast is proofing, measure 7 cups of flour into your mixing bowl. I use a Bosch mixer because it has a powerful motor perfect for kneading bread dough, but a KitchenAid mixer
or other mixer is great. You can also make this bread by hand, which I did for years before I had a mixer.
4. When measuring the flour, it should have a little bit of air in it. Stir and fluff the flour before measuring. Scoop the flour into your measuring cup, and use the flat side of a table knife to level the flour with the top of the cup. Check out this helpful video for more info on how to measure flour properly.
By far the easiest way to measure flour accurately is to use a kitchen scale. There are a lot of different food scales to choose from, but this is the type of food scale I have. A standard weight for 7 cups of flour is 900 grams.
5. Put the flour in the bowl of your mixer with the dough hook attached. Turn on the mixer, add 1 tablespoon of salt to the flour, and let it mix. The standard ratio of salt to flour in bread baking is 1/2 teaspoon salt per cup of flour, but for this bread I use a little less salt.
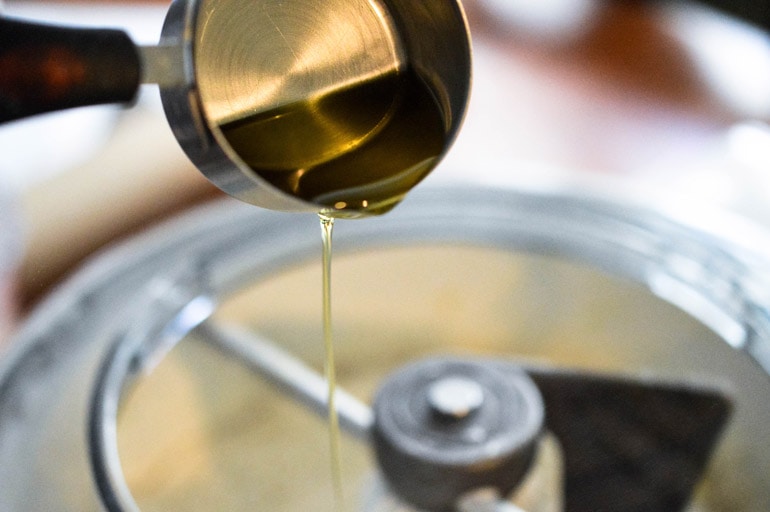
6. While the mixer is running, slowly drizzle 1/4 cup of olive oil into the flour. If making the bread by hand, you can incorporate the oil with the flour using a whisk.
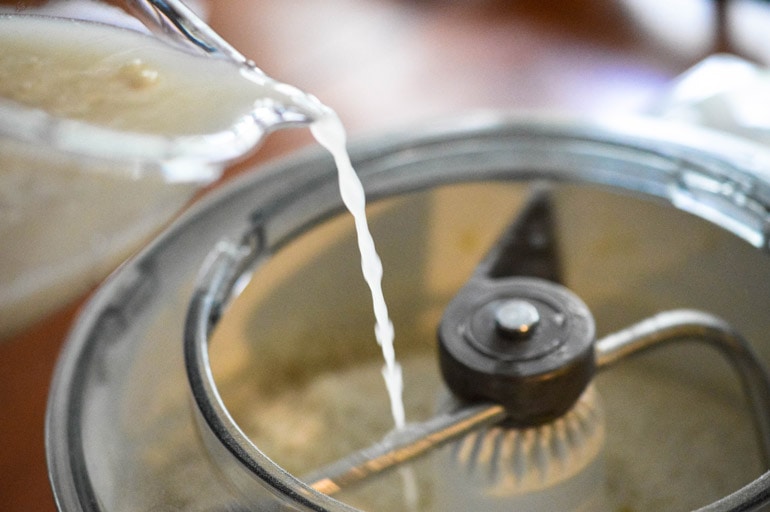
7. Next, add the yeast and water mixture while the mixer is still running. If you are doing this step by hand, you will want to switch from a whisk to a sturdy wooden spoon.
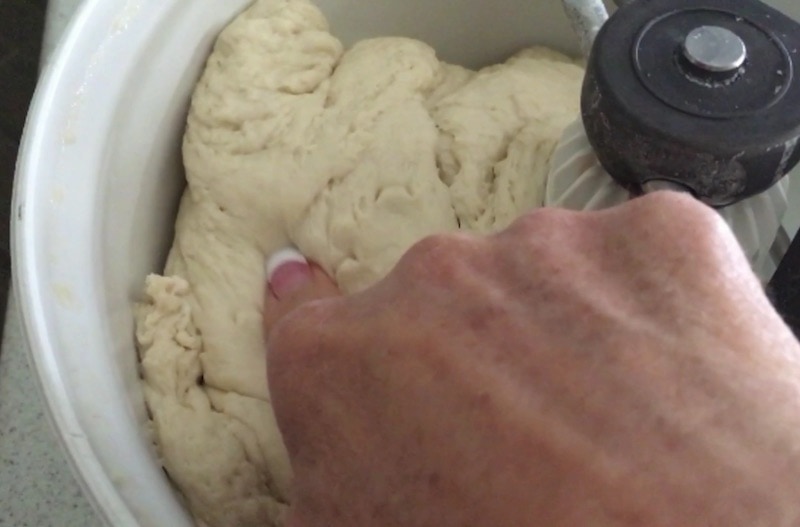
8. Let the dough knead in the mixer for 4 minutes. If making the bread by hand, turn the dough out onto a floured surface and knead for 5 minutes. By this time, you’ll have a smooth, springy dough that bounces back when you press it with your finger.
This is where bread baking once again gets a little tricky. I’ve found the exact amount of bread flour needed can vary, depending on the brand. When I use King Arthur or my locally milled bread flour, I use 7 cups. If I switch to Gold Medal, I need 7 1/2 cups. Feel the dough with your finger. It should be springy, not stiff and not sticky. Between 7 and 7 1/2 cups of flour will get you there.
9. Place the dough in a large mixing bowl that has been sprayed with cooking spray. Cover with sprayed waxed paper, then cover that with a kitchen towel. Let the dough rise in a warm place (room temperature is fine) for about an hour until it has doubled in size.
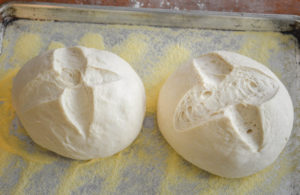
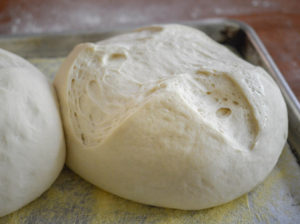
10. Knead the risen dough on a floured surface by hand for about a minute to remove air. Shape the dough into 2 equal-size balls, and place them on a large baking sheet that has been liberally sprinkled with cornmeal. I like to use my scale to make sure each ball is of equal weight. Use a sharp knife to cut a shallow “X” into the top of each ball.
If you have two ovens, you could put the loaves on two different baking sheets and bake one in each oven. That would be ideal, because they would not touch each other, and they would brown perfectly all around.
11. Cover the dough with sprayed waxed paper and a kitchen towel as before, and let it rise a second time for 20-25 minutes. During the second rising (also called “proofing”), preheat your oven to 425 degrees.
12. Bake the bread at 425 degrees for 23-25 minutes, until browned on the outside. Bake 5 minutes longer if you want a crisper crust.
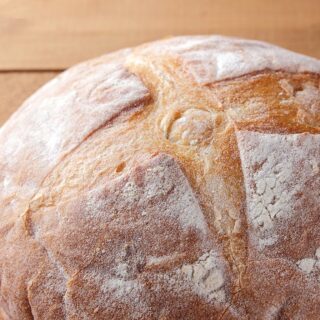
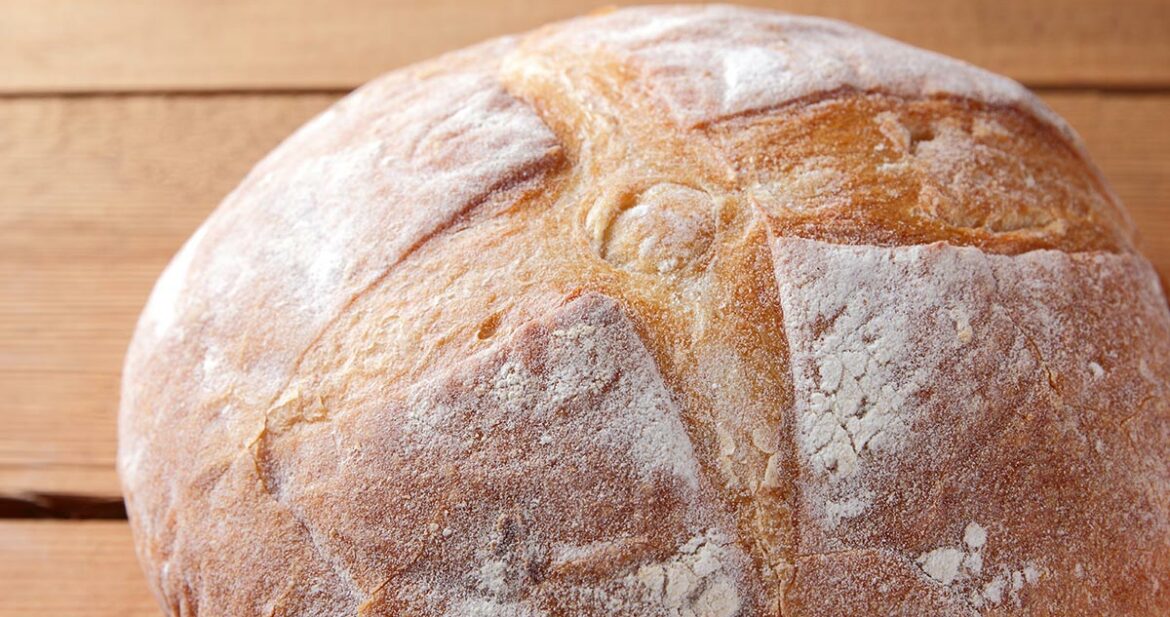
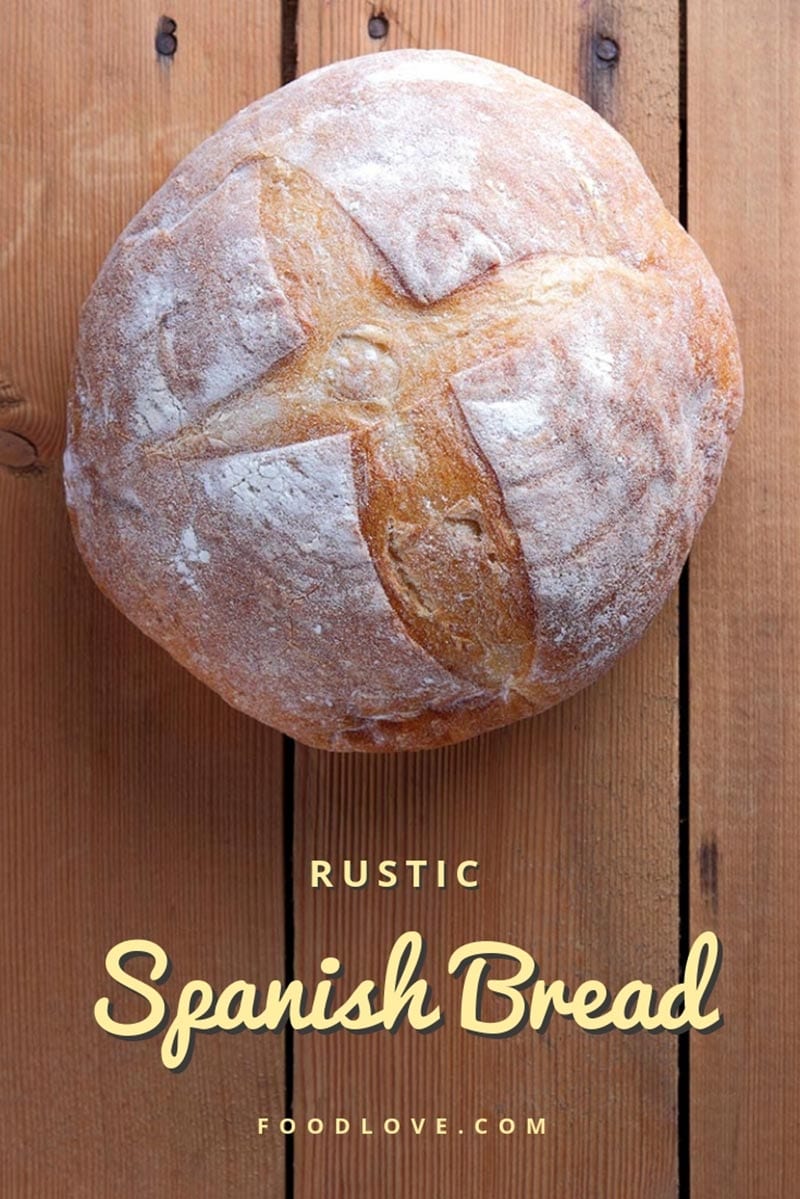
13. Isn’t it beautiful? The actual work time for making this bread is only about 20 minutes. Total time including rising and baking time is about 2 1/2 hours.
These bread loaves have been dusted with a tiny bit of flour to make them look pretty. You can certainly do that if you want to, but it’s optional.
14. This bread is so easy and versatile, it makes a great gift for the holidays, for a sick friend, or for someone who’s just had a baby. You can serve the bread with almost anything, but my favorite way of eating it is with butter and homemade raspberry jam!
Rustic Spanish Bread
Equipment
Ingredients
- 2 3/4 cups 650ml water
- 5 teaspoons or 2 packets 14g active dry yeast
- 7 cups 900 grams bread flour
- 1 tablespoon 14g salt
- 1/4 cup 60ml olive oil, preferably extra virgin
- Cornmeal for sprinkling baking sheet
Instructions
- Sprinkle the yeast over slightly warm (95 degree) water in a small bowl or measuring cup. Stir lightly. Let sit for 10 minutes.
- Measure the flour, and place in the bowl of a kitchen mixer with a dough hook attached. If making by hand, place the flour in a large mixing bowl.
- Turn on the mixer, add salt to the flour, and allow to mix. Slowly drizzle the olive oil into the flour as the mixer is running. If making by hand, use a whisk.
- Slowly drizzle in the yeast and water mixture. Allow the dough to knead by machine for 4 minutes.
- If making by hand, combine the flour with the yeast and water mixture using a wooden spoon, then turn the dough out onto a floured surface and knead for 5 minutes.
- After kneading, you should have a smooth, springy dough that bounces back lightly when pressed with your finger. Check the texture of the dough during the kneading process. If the dough is sticky, add up to 1/2 cup additional flour.
- Cover the dough in the bowl with waxed paper that has been sprayed with cooking spray, then with a kitchen towel. Let rise for 1 hour or until doubled.
- Knead the risen dough by hand on a floured surface for about a minute to remove air. Form the dough into 2 equal-size balls, and place on a 15-inch baking sheet that has been sprinkled liberally with cornmeal.
- Cover the loaves again with waxed paper and a kitchen towel, and let rise a second time for 20-25 minutes or until doubled. Meanwhile, preheat the oven to 425 degrees.
- Bake the loaves for 23-25 minutes or until browned. Bake 5 minutes longer for a crisper crust.
Notes
Nutrition
Disclosures: The author was not compensated by any person or company for the content of this post. The post may contain affiliate links. If you buy a product using these links, we receive a commission. This helps with the cost of publishing recipes on this website.
For more recipes like this one, follow us on Pinterest, follow us on Twitter or like us on Facebook.
Photos by Marsha Maxwell and Lazartivan/Shutterstock.com
Reader Interactions
Comments
Trackbacks
-
[…] salt, and yeast… it’s the olive oil that keeps it moist and adds a unique flavor. Thank you to foodlove.com for the recipe that made 2 loaves. The website picture is so much prettier than mine. I’ll touch […]
-
[…] Rustic Spanish Bread […]



I would like to make this. However, your measurement for flour makes no sense.
It says 7 (2 pounds, 2 1/2 ounces) bread flour (You can substitute all purpose flour; reduce water to 2 1/2 cups)…….. What does the 7 mean? Cups? I would like to make soon. Please respond.
I also think sodium a bit high
Hi Paula, thanks for commenting! I’ve updated the measurement descriptions to make them more clear. I also checked the sodium number – it’s correct for 1 tablespoon of salt divided by 32 servings. Let me know how it turns out for you!
I just returned from Spain and absolutely loved their bread! Can I make this into long loaves like a baguette?
I hope you enjoyed your trip, Stacy! You can definitely make this bread into oblong loaves. It’s a relatively soft bread with a medium-tender crust. It’s a bit different from chewy, airy French bread.
This is my go-to weekly bread. It’s an absolutely amazing recipe that my family loves. I do have a question. If I wanted to use a sourdough starter in this bread how would I add it?
Thanks, Jesse – I’m so happy to know you are enjoying this recipe! Unfortunately, I have never had the patience to maintain a sourdough starter, so I don’t know much about sourdough bread! I’ve seen recipes for soft sourdough bread, and sourdough bread with olive oil, so if you search for those you might get some ideas. Good luck!
Thank you! This was glorious! An easy-to-follow recipe for a fairly new bread maker (me) and it turned out just like I remembered from my time in Spain.
Thank you, Robin! I’m glad it turned out well for you!
Holy Cow!
This bread is fantastic. The instructions were great and easy to follow. I’ll be making this bread often. Enjoying it now with Spanish tortilla and a glass of sangria. Thank you.
Thanks, Marc! Sounds like a beautiful meal!
Marcha,
Thank you for this wonderful recipe, I have baked 4 loaves already this week.
Fadlo! That’s amazing! I hope you’re enjoying the fruits of your labor 🙂
I tried this tonight! Great recipe, thank you! 🙂
I have recently been making “travel to a different country” supper theme nights, amongst COVID. Tonight was Spain, really lovely! Served with sausages and empanadas, paprika rice and veggies.
Went down a treat, and my Mum can’t wait to toast some in the morning with honey! YUMMM!
Thanks for the recipe!
Katrina,
I love this idea! How fun–and delicious! I’m so glad you enjoyed the recipe and hope it toasted up well 🙂