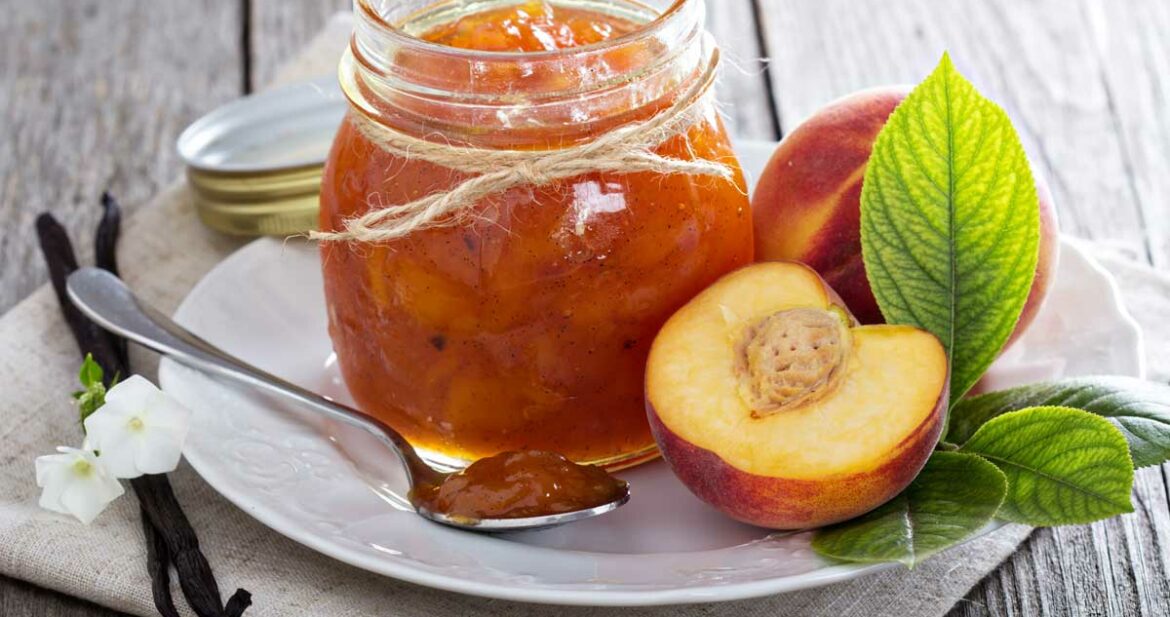
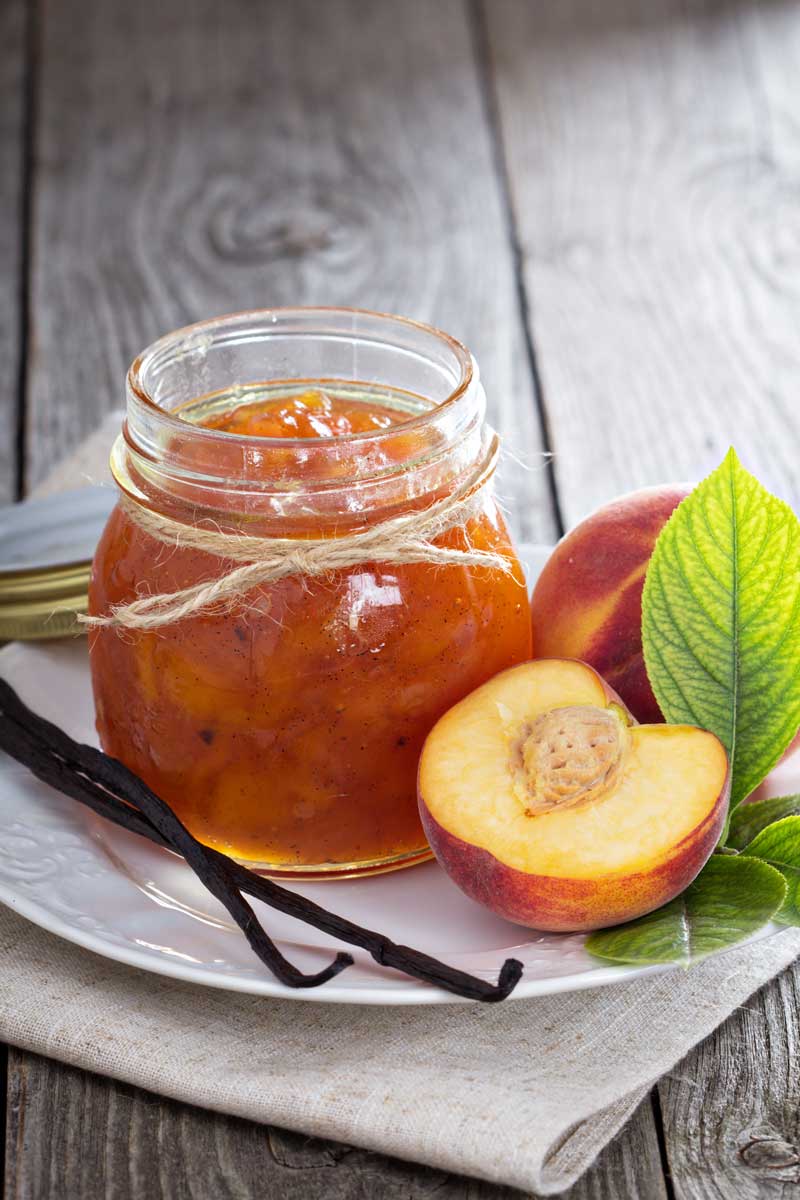
The flavors nature provides are truly miraculous. Two of the most magical flavors, to me, are fresh, bright, sweet summer peaches and aromatic, floral vanilla. Every year I look forward to fresh peach season, so I can make low sugar peach vanilla jam.
This low sugar peach vanilla jam is a perfectly sweet, slightly exotic topping for toast, yogurt, pancakes or biscuits. The low sugar recipe lets the fresh fruit flavor shine through. This recipe contains only five simple ingredients: peaches, sugar, vanilla, lemon juice, and low sugar/no sugar pectin.
I always make homemade peach vanilla jam when local peaches are in season, which could be any time from early to late summer depending on where you live. Do yourself a favor and get fresh, local peaches from the nearest farm stand or farmer’s market. Yellow clingstone peaches are generally considered the best choice for jam making. They are soft, sweet, and juicy, with a classic “peachy” flavor and color. Yellow peaches are higher in acid than other varieties, and that higher acid content helps the jam stay fresh in the jar.
If you want to make peach vanilla jam when peaches are not in season, you can use frozen peaches. Let the peaches thaw before using them in the recipe.
For each batch of low sugar peach vanilla jam, you will need about 3 1/2 pounds or 10-12 medium peaches. This recipe yields 6-7 half-pint jars of jam.
Choose peaches that are ripe, but not overripe. If you pick them up and smell them, they should have a beautiful peach fragrance. They should be soft and yield slightly if you press them with your thumb, but they shouldn’t be mushy or have obvious brown spots.
Once you’ve selected the best fruit possible, it’s jam making time! Making homemade peach jam is easy, but you will need a little bit of canning equipment:
- Water bath canner with canning rack
- 1/2 pint Mason jars with lids and rings
- Jar lifting tongs
- Canning funnel
- Magnetic wand for retrieving lids from hot water (optional)
You can find the jars, rings, canners and all the equipment at stores like Walmart or many grocery stores, or you can order a canning kit, like this Ball Enamel Water Bath Canner with Utensils, from Amazon. Most people only have to buy this equipment once, and it lasts a lifetime. The one exception is the jar lids and rings, which have to be replaced.
You will also need some of your regular kitchen equipment for this recipe:
- Colander
- Potato masher
- Large, open pot, like a soup pot, for boiling the jam
- Wooden spoon or heat-proof silicone spatula, for stirring
- Large spoon for skimming
- Large liquid measuring cup
- Dry measuring cups and spoons
- Ladle
- Small ceramic plates
- Clean kitchen towels
- Paring knife
Before you begin, inspect and wash 6-7 half-pint Mason jars. Run your finger around the rim of each jar to make sure it’s not chipped. A chipped jar won’t seal properly. After you inspect the jars, wash them in the dishwasher, or by hand with hot soapy water. Set the clean jars aside on a drying rack or clean kitchen towel.
Our mothers and grandmothers used to sterilize jars by boiling them for 10 minutes, but this isn’t necessary. The jars will be thoroughly sterilized during the water bath canning process.
Once the jars are clean, put 2 small ceramic plates in the fridge, because you will need those later for testing the jam.
Next, it’s time to scrape the seeds from inside the vanilla bean. I admit vanilla beans are expensive, but the vanilla bean seeds have an intense flavor and aroma that makes this jam special. Besides that, it looks fancy when you see the little black vanilla seeds in the jam.
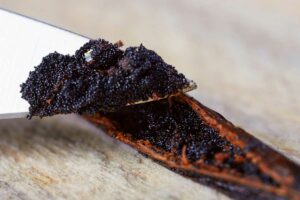
When buying vanilla beans, look for beans that are soft, shiny, and flexible. Avoid beans that are hard, brittle, or dried out. To remove the seeds from inside the bean, cut the bean lengthwise with a small, sharp knife, like a paring knife. Don’t cut all the way through, just cut through the top half of the bean so you can split it open and spread it out with your fingers. Use the back of the knife to scrape out the tiny vanilla seeds, then set these aside in a small dish.
If you want to watch a video tutorial on how to scrape out a vanilla bean, this tutorial from Mel’s Kitchen Cafe is one of my favorites.
For this recipe, you will need 1-2 vanilla beans. One bean will give a subtle vanilla flavor, and two beans will give a strong vanilla flavor. My preference is to use 1 1/2 vanilla beans, or one vanilla bean plus 1 teaspoon vanilla extract.
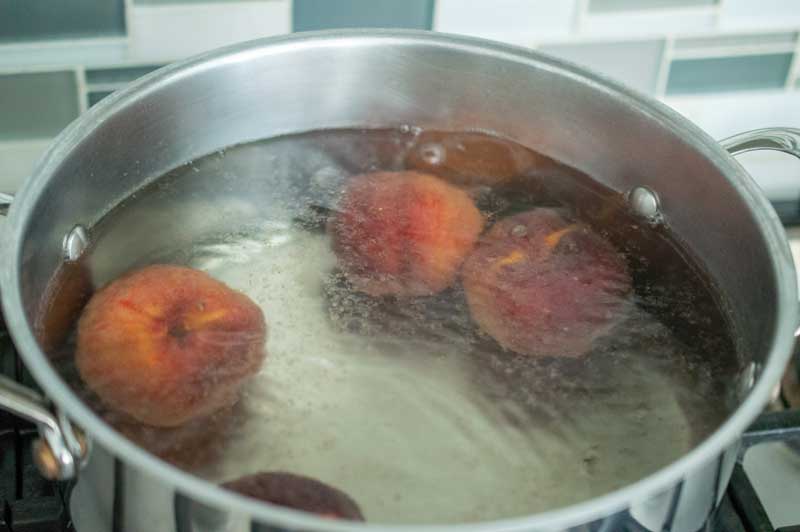
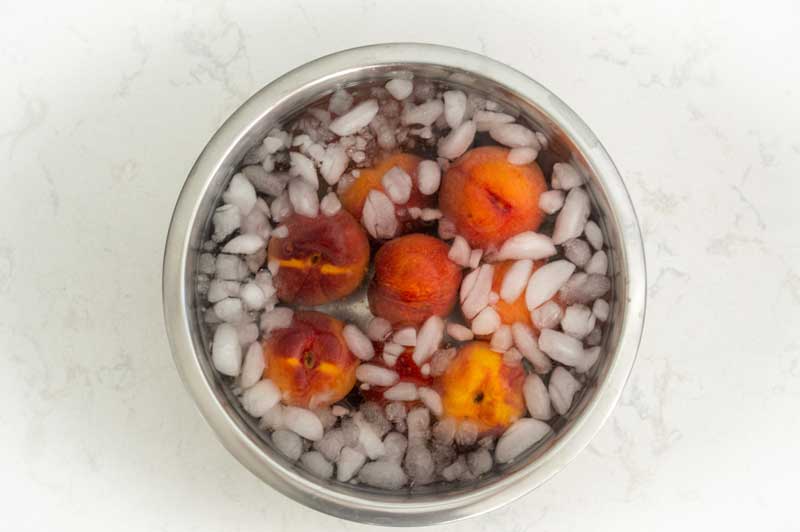
After the vanilla is ready to go, it’s time to peel and chop the peaches. Peeling peaches is a bit of a chore. You can loosen the skin and make peaches easier to peel by blanching them quickly in boiling water, then dunking them in ice water.
Place 4-5 peaches at a time in a boiling water bath for one minute:
Remove the peaches from the boiling water with a slotted spoon, then place them immediately in a bowl of ice water for 1-2 minutes.
After the peaches have been blanched this way, you should be able to remove the skin easily with a paring knife. Cut the peaches in half and remove the pit, then remove the skin.
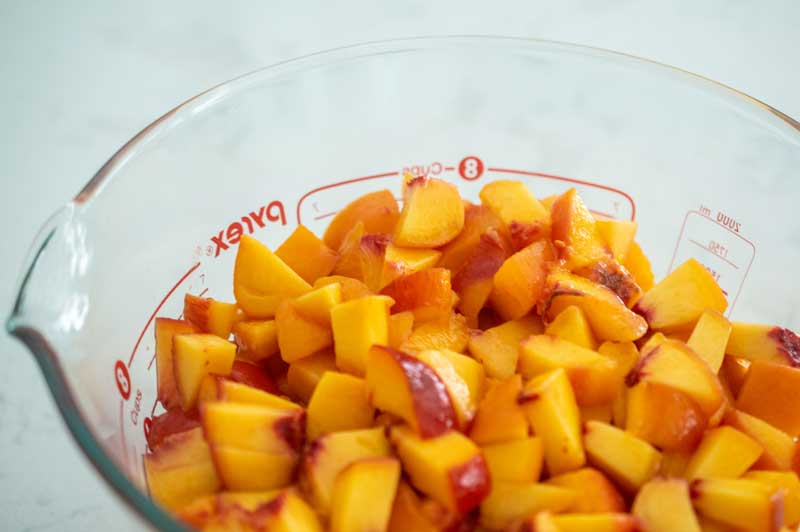
The next step is to roughly chop the peaches into about 1/2-inch pieces. You will need about eight cups of chopped peaches in order to end up with about five cups of mashed peaches for this low sugar peach vanilla jam recipe.
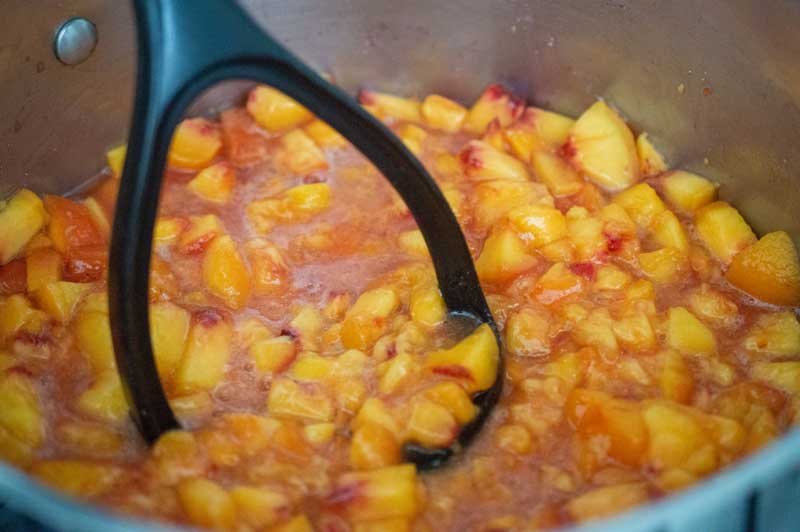
Using a potato masher, mash the peaches to a consistency you like. The great thing about making your own jam is you can make it whatever consistency you want. If you want a smooth and not chunky jam, you can use a food processor or immersion blender to puree the fruit. I usually stick with a potato masher. You can mash the fruit both before and during cooking.
If you want to make multiple batches of jam, I recommend making them one at a time. Doubling or tripling jam recipes will sometimes affect the cooking process and prevent the jam from jelling.
A key ingredient to low sugar peach vanilla jam is low sugar pectin. You can usually find this in grocery stores near the canning supplies. Make sure you get the low sugar/no sugar pectin and not the regular. Low sugar/no sugar pectin contains a mold inhibitor. One of the reasons old fashioned jam recipes contain so much sugar is that it acts as a preservative. When you use less sugar, you need to make sure you are using the right pectin to prevent mold.
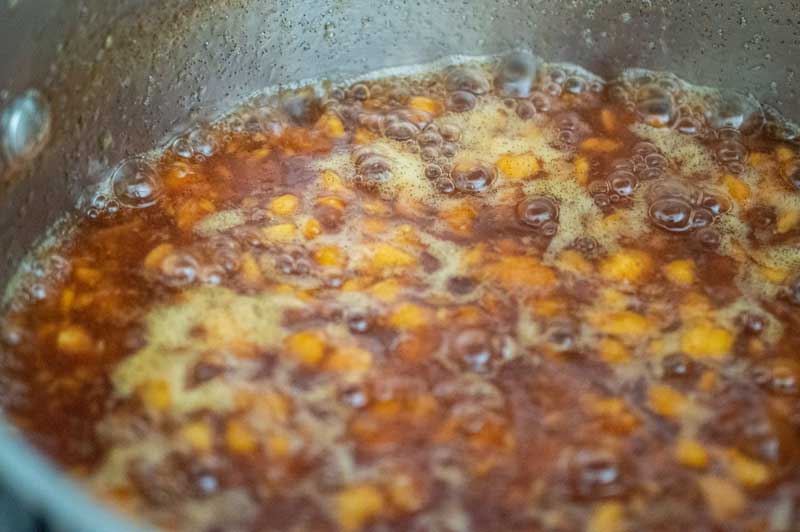
Mix the fruit, vanilla, lemon juice, pectin, and 1/4 cup of sugar in a large soup pot, and bring that to a full boil. Then add the rest of the sugar to total 3 1/2 cups, and bring it back to a full boil for one minute. A full boil, also called a hard boil, is a boil that doesn’t go away when stirred. Stir the jam the entire cooking time so it doesn’t burn.
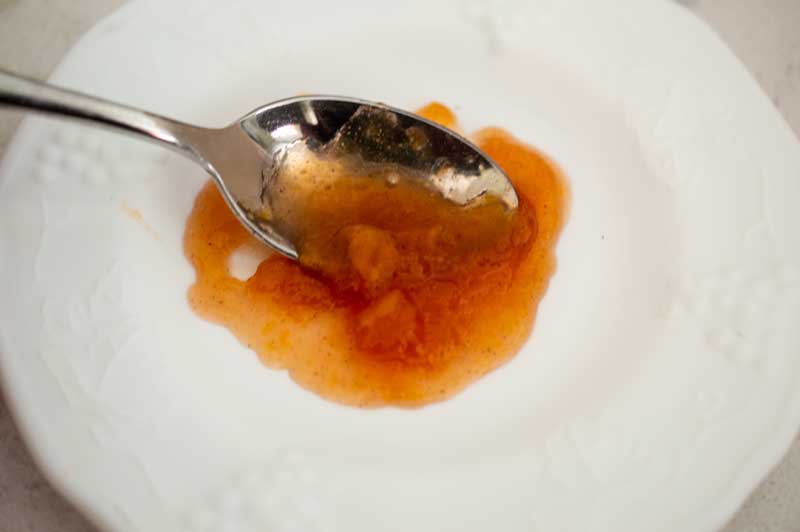
Once the jam has come to a hard boil a second time for a full minute, you can test its texture. Remove the jam from the heat, and take one of the cold plates out of the fridge. Pour a small spoonful of jam on the cold plate. If the jam thickens up to a texture you like, it’s done.
If you test the jam and it’s still too runny, boil it for another minute and test again. If it’s too runny after that, you might need to add another 1/4 box of pectin and boil again. (I’ve actually never had to do that.) This batch was perfect after the first test.
Once the jam is cooked, use a large spoon to skim off the foam. After the foam has been skimmed, let the jam sit for 10 minutes or so, then stir. This will help distribute the fruit chunks so they don’t float to the top when the jam is in the jars.
While the jam is resting, get the lids ready. In decades past, Mason jar lids needed to be soaked in hot water before using. This step is no longer necessary. Just make sure the lids are clean and dust-free. I wash my lids and rings with hot water, and set them on a clean kitchen towel until I need them.
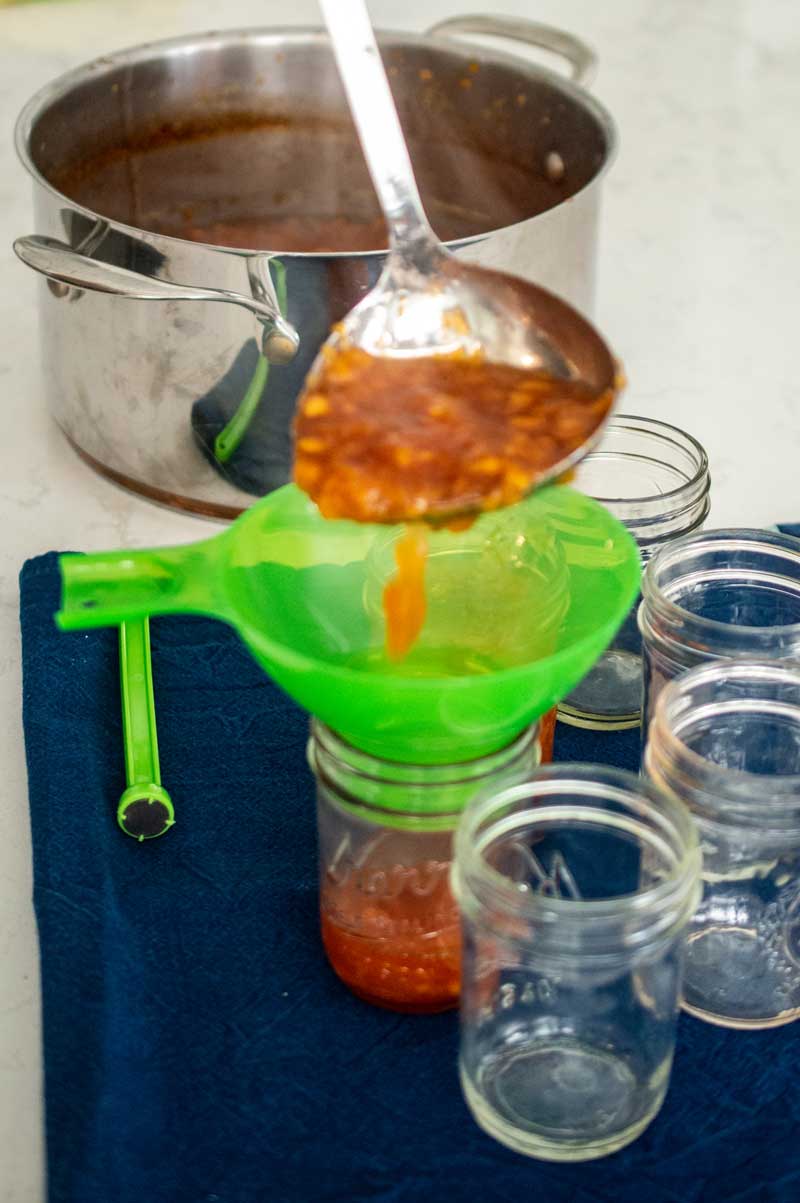
Fill the jam jars using a ladle and canning funnel. Make sure to leave about 1/4 inch of “headspace,” or empty space, at the top of the jar, in case the food expands during processing.
Wipe off the rims of the jars with a clean towel. Place the lids on the jars and secure with rings, but don’t screw the rings on too tight.
Place the rack inside the water bath canner and fill with water. Place the jars carefully in the canner. The water should cover the tops of the jars by at least one inch. Follow the directions that come with your water bath canner.
Processing time depends on how far you are above sea level, so check the recipe below. At the end of the processing time, use the jar lifting tongs to remove the jars from the water, and set them on a clean towel. Let them sit undisturbed for several hours, so they can seal. You know they’re sealed when the center of the lid is depressed slightly and doesn’t move when you press it with your finger. You might hear a popping sound when the lids seal.
Making your own low sugar peach vanilla jam is totally worth the effort! Homemade peach vanilla jam also makes a great gift. Fresh summer peaches and fragrant vanilla seeds give this jam its beautiful flavor. I hope you enjoy this recipe!
Peach Vanilla Jam (Low Sugar Recipe)
Equipment
Ingredients
- 3 1/2 pounds ripe fresh peaches (to substitute frozen peaches, see notes)
- 3 1/2 cups white sugar
- 1 box low/no sugar pectin or 3 tablespoons bulk low/no sugar pectin
- 3 tablespoons lemon juice fresh or bottled
- 1-2 vanilla beans see notes
Equipment
- 6 half-pint Mason jars with lids
- Potato masher
- Paring knife
- Ladle
- Large wooden spoon or silicone spatula for stirring
- Large wide pot like a soup pot for cooking
- Water bath canner
- Canning funnel
- Jar lifting tongs
Instructions
- Sterilize the jars by washing in the dishwasher on the sterilize cycle or immersing in boiling water for 10 minutes. Place clean jars on a clean towel. Put 2 small ceramic plates in the refrigerator, because you will need them later to test the thickness of the jam.
- Scrape the seeds from the vanilla bean pod. Slice the pod lengthwise with a small, sharp knife, cutting through only the top half of the bean. Open the bean and spread it out with your fingers. Use the back of the knife to scrape out the small vanilla seeds, and set these aside.
- Blanch the peaches, 4-5 at a time, in a boiling water bath for about 1 minute. Remove with a slotted spoon, and immediately place in a large bowl of ice water. This will loosen the peach skins.
- Remove the peaches from the ice water and drain. Cut the peaches in half, remove the pits, and remove the skins with a paring knife.
- Cut the peaches into about half-inch chunks. You will need about 8 cups of chopped peaches.
- Mash the peaches with a potato masher until you get the texture you want for your jam. You should have about 5 cups of mashed peaches. You can also use a food processor or immersion blender for a smoother mixture.
- Mix the pectin, lemon juice, and ¼ cup sugar in a small bowl or measuring cup.
- Place the peaches and vanilla in a large cooking pot, and add the pectin mixture. Over medium high heat, bring everything to a full boil that does not go down when stirred. Stir the entire time so the jam does not burn.
- At this point, add the rest of the sugar, stir well, and bring the jam back to a full boil for one minute. Turn off the heat and test the thickness of the jam by putting a small spoonful on a cold ceramic plate. If it’s thick enough, it’s done. If it’s too runny, add ¼ package more pectin, bring to a hard boil again for 1 minute, and test again with the second cold plate.
- Let the jam cool for 10 minutes, then stir to distribute the fruit. If the jam is too hot when you put it in the jars, the fruit chunks will float to the top. Meanwhile, place the Mason jar flat lids (not the rings) in very hot (not boiling) water to get them ready.
- Fill your jars, using the ladle and funnel, leaving 1/4 inch of clearance space at the top of the jar.
- Wipe the rims of the jars with a clean, damp towel. Place the lids on the jars and secure with rings. Do not screw the rings on too tight.
- Process the jars, following the instructions for your water bath canner. This jam requires 5 minutes processing at sea level, 10 minutes above 1000 feet altitude and 15 minutes above 6000 feet altitude.
- Remove the jars carefully with the jar lifting tongs, and set them on a clean towel. Leave them undisturbed for several hours or overnight to let them seal. You can tell they are sealed if the center of the lid is depressed slightly and does not move when pressed with your finger. Remove the rings so they don’t rust due to trapped moisture, or if you want to leave them on, at least remove them
temporarily to make sure they are dry underneath. The jam lasts about a year in the pantry.
Notes
Nutrition
For more recipes like this one, follow us on Pinterest, follow us on Twitter or like us on Facebook.
Photos by Marsha Maxwell, portumen/Shutterstock.com, Elena Veselova/Shutterstock.com, beats 1/Shutterstock.com.





Leave a Reply