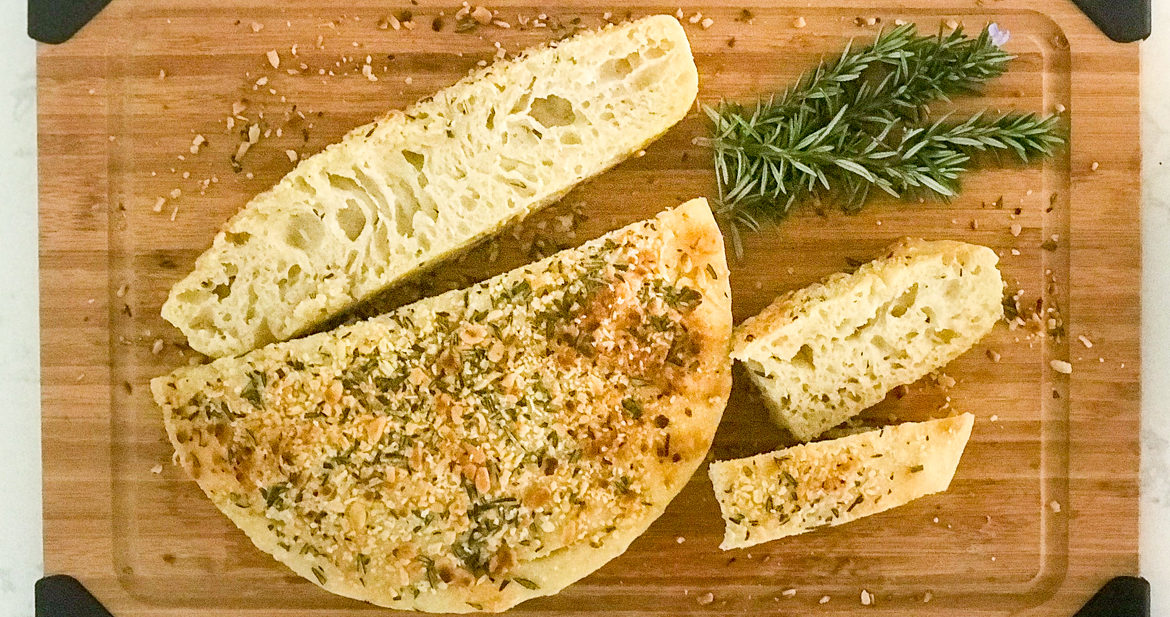
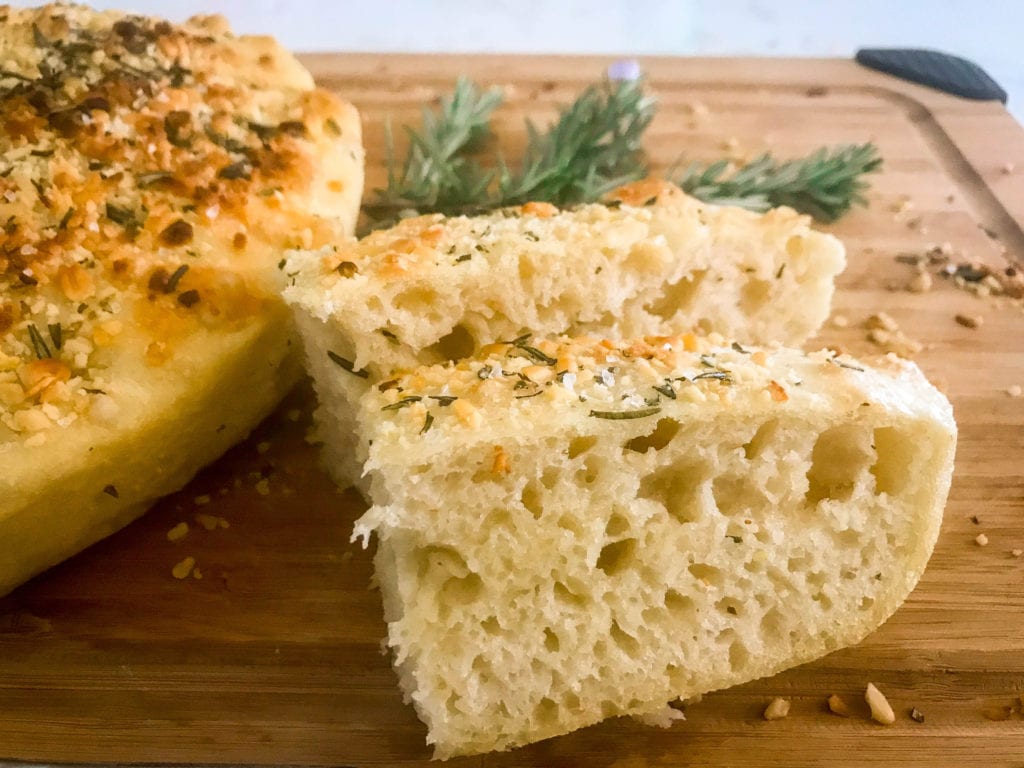
Meet my new favorite bread! I hope you can tell I’m gushing with enthusiasm about this recipe. I’ve been wanting to try artisan bread, but I didn’t want to commit to maintaining a sourdough starter. This recipe uses just a bit of yeast and rises overnight for a chewy, but light and airy, texture. Baking the bread in an oiled cast iron skillet creates a perfect crispy crust. There’s no kneading necessary, and there’s only about 15 minutes of actual work involved. You do have to plan ahead for the overnight rise, so if you want something a quicker, try our easy focaccia bread recipe.
I like to top this no-knead skillet focaccia with fresh rosemary, toasty crushed pine nuts, a drizzle of olive oil, and a sprinkle of sea salt. If you want to get creative with toppings, try onions, shallots, garlic, sun dried tomatoes, or olives. This bread brings back memories of a trip I took to Italy. One of my favorite things there was fresh focaccia with tons of different toppings, which you can buy in little bakeries that seem to be on every corner. Focaccia is also fantastic served with pesto or a drizzle of balsamic glaze.
Start your no-knead skillet focaccia by whisking together bread flour, yeast and salt in a large mixing bowl. I use a digital food scale
to measure ingredients for this recipe, because I can get more accurate measurements that way, but I’ve included measurements in cups as well. Use a big bowl, because your dough is going to expand to 4-5 times its original size!
Bread flour is best for this no-knead skillet focaccia because of its high protein content. You can use all-purpose flour if you prefer. Just follow the recipe directions, because all-purpose flour absorbs less water.
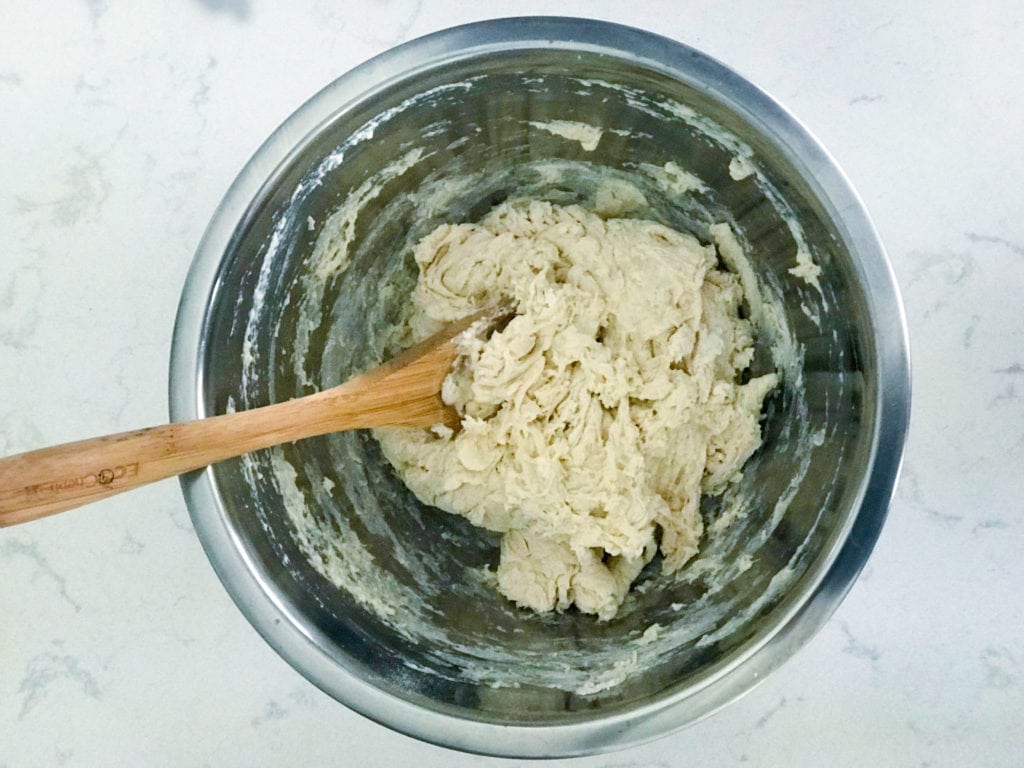
After the dry ingredients are mixed, add water and mix using a spatula or wooden spoon, until the dough starts to come together. Focaccia dough is relatively wet, with a hydration ratio of 80%, or 80 grams of water for every 100 grams of flour. The high water content is perfect for a rustic bread with a hole-y texture like this one.
Once the dough is mixed, it will look like this:
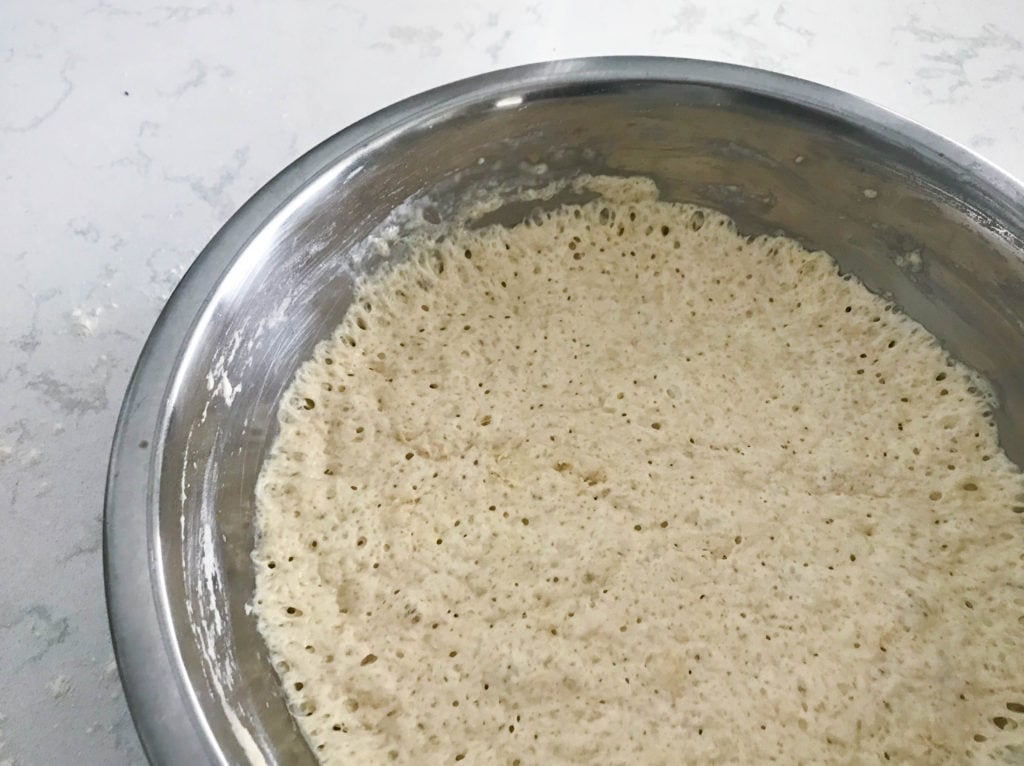
At this point, cover the dough with plastic wrap, then a clean kitchen towel. Let the dough rise at least eight hours or up to 24 hours. After 24 hours, you will have something like this:
You can see this dough has really grown! The long, slow rise helps the bread develop its chewy texture, and lots of air bubbles. Turn the dough out onto a lightly floured surface, and with floured hands, form it into a ball. The easiest way to do this is by pinching the dough together in the middle a few times until a ball shape forms.
Place the ball in an oiled 10-inch cast iron skillet, and press it down with oiled hands until it nearly reaches the edge of the skillet. Cover again with plastic wrap and a clean towel, then let the dough rise for an additional two hours. The last half hour of the second rise, preheat your oven to a hot 450 degrees. This is a also a good time to crush the pine nuts and chop the rosemary. I usually put the pine nuts in a small ziploc bag, and hit them lightly with a mallet. This is one recipe where it makes a big difference to use fresh herbs, so use fresh rosemary if you can. Dried rosemary works too, as long as it is still fragrant.
After the bread has risen for the second time, use oiled fingers to pop the big bubbles. You want the dough to have bubbles, but not huge holes. If you’re wondering what that looks like, here’s a quick video:
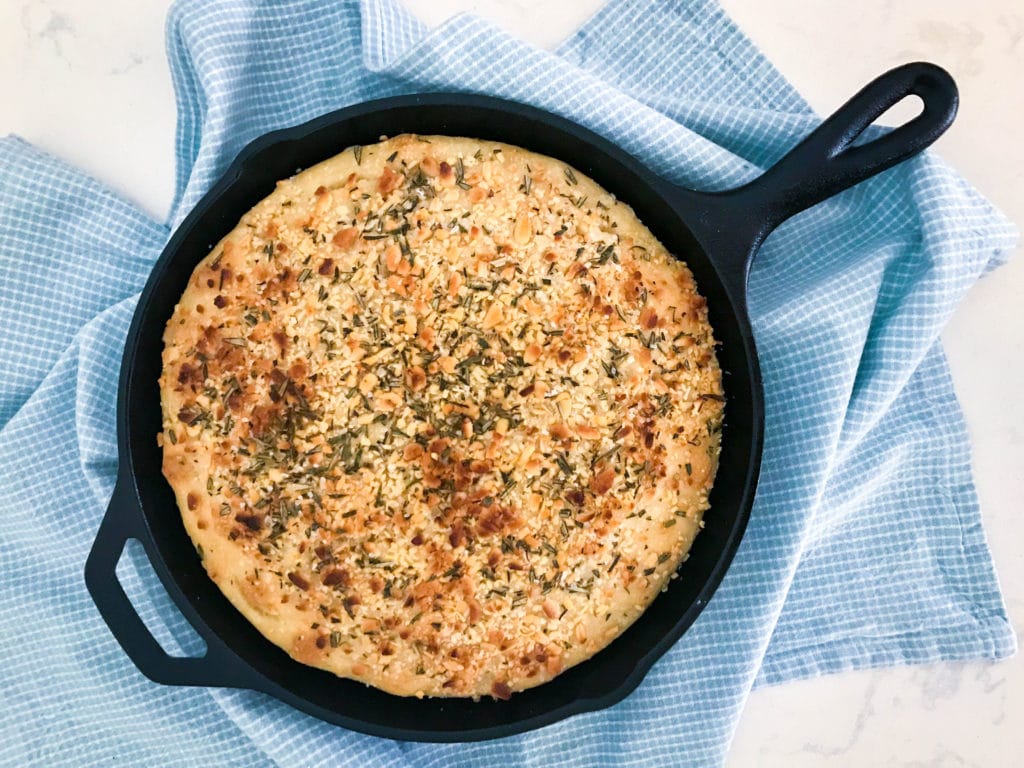
After popping the big bubbles, sprinkle the dough with the pine nuts and rosemary. Drizzle with a little additional olive oil, and sprinkle with a pinch or two of sea salt. You don’t need a lot of sea salt, because the dough is fairly salty already. Bake your focaccia for 22-26 minutes, or until browned and crisp on the outside.
Have fun with this recipe! Yes, it does take a whole day to make, but the actual work time is only 15-20 minutes, and the results will compare with the best bakery focaccia.
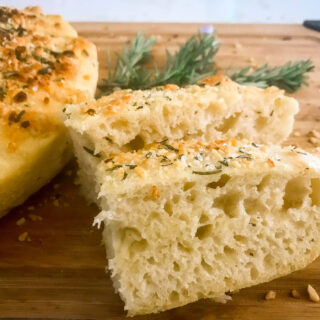
No-Knead Skillet Focaccia with Pine Nuts, Rosemary and Sea Salt
Equipment
Ingredients
- 500 g 3 ¼ cups bread flour (or use all-purpose flour)
- 15 g 1 tablespoon kosher salt
- 8 g 1 teaspoon active dry yeast (or use 4 grams instant yeast)
- 400 g 2 cups minus 1 tablespoon water (if using all-purpose flour, reduce water to 350 grams or 1 ½ cups)
- 3 tablespoons extra-virgin olive oil divided
- ¼ cup pine nuts roughly chopped (or place in a plastic bag and pound lightly with a mallet or rolling pin)
- 1 tablespoon chopped fresh rosemary or 1 ½ teaspoons dried rosemary
- Coarse sea salt for sprinkling
- Other topping ideas: Sliced sweet onion sliced garlic cloves, olives, sun dried tomatoes
Instructions
- Combine flour, salt and yeast in a large bowl, using a whisk. Use a large bowl, because the dough will expand to about 4 times its original size.
- Slowly pour in the water, and mix with a spatula or wooden spoon until all the flour is moistened and the dough starts to come together.
- Cover the bowl tightly with plastic wrap, then a clean kitchen towel. Let the dough rise at least 8 hours and up to 24 hours.
- Turn the dough out onto a lightly floured surface. Using floured hands, pinch the dough together in the middle several times until it forms a ball.
- Oil a 10-inch cast iron skillet with 1 1/2 tablespoons olive oil. Place the ball of dough in the pan, and using oiled hands, press and stretch the dough until it almost reaches the edges of the skillet.
- Cover the skillet with plastic wrap and a clean kitchen towel. Let the dough rise a second time for 2 hours.
- During the last half hour of the second rise, position an oven rack one slot below the middle of the oven. Preheat oven to 450 degrees.
- After the dough has risen for a second time, use oiled fingers to pop the big bubbles in the dough. Keep popping as large bubbles arise.
- Sprinkle the dough with pine nuts and rosemary, and press down lightly with your hands so the toppings stick to the dough. Drizzle with remaining olive oil. Sprinkle with a few pinches of sea salt.
- Bake 22-26 minutes, until browned and crispy on the outside. Let cool for at least 10 minutes before slicing.
Nutrition
For more recipes like this one, follow us on Pinterest, follow us on Twitter or like us on Facebook.


Leave a Reply