Sweet, fresh corn on the cob is a classic taste of summer. Slathered with butter, sprinkled with salt and pepper, freshly picked corn brings a smile to everyone’s face. During the summer, I’ll stop by my favorite farm stand for some local corn that was picked that very day. When summer is over, fresh local corn disappears. Luckily, freezing corn is easy and preserves the taste of summer for the cold months to come.
FREEZING CORN
1. HOW TO BLANCH CORN
- Before you get started, put a large pot of water on to boil.
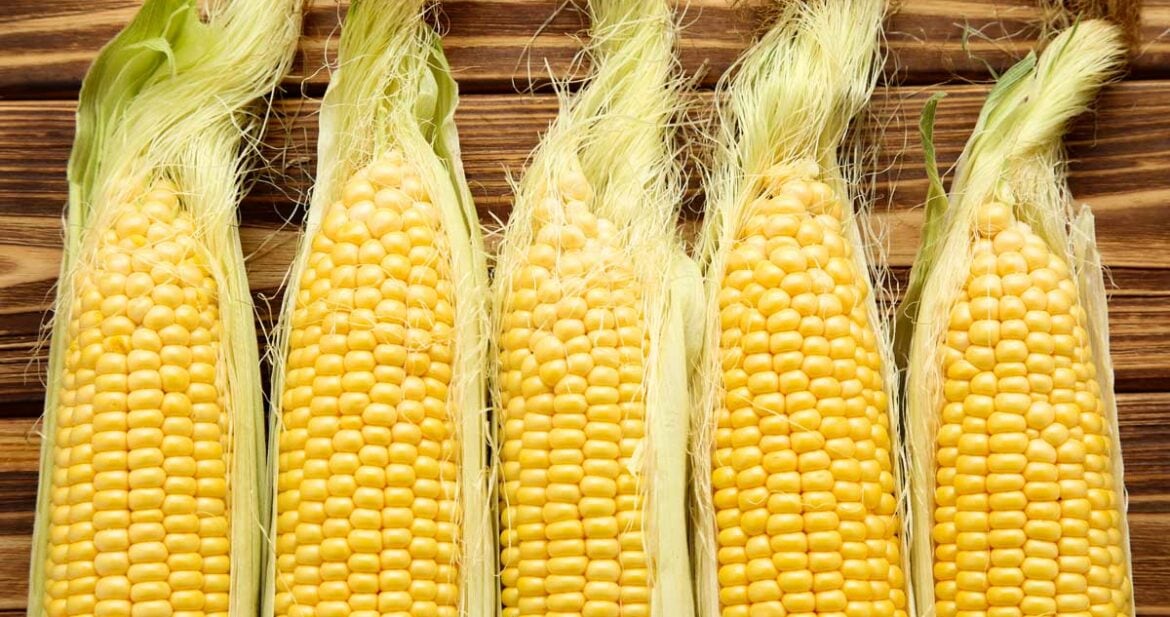
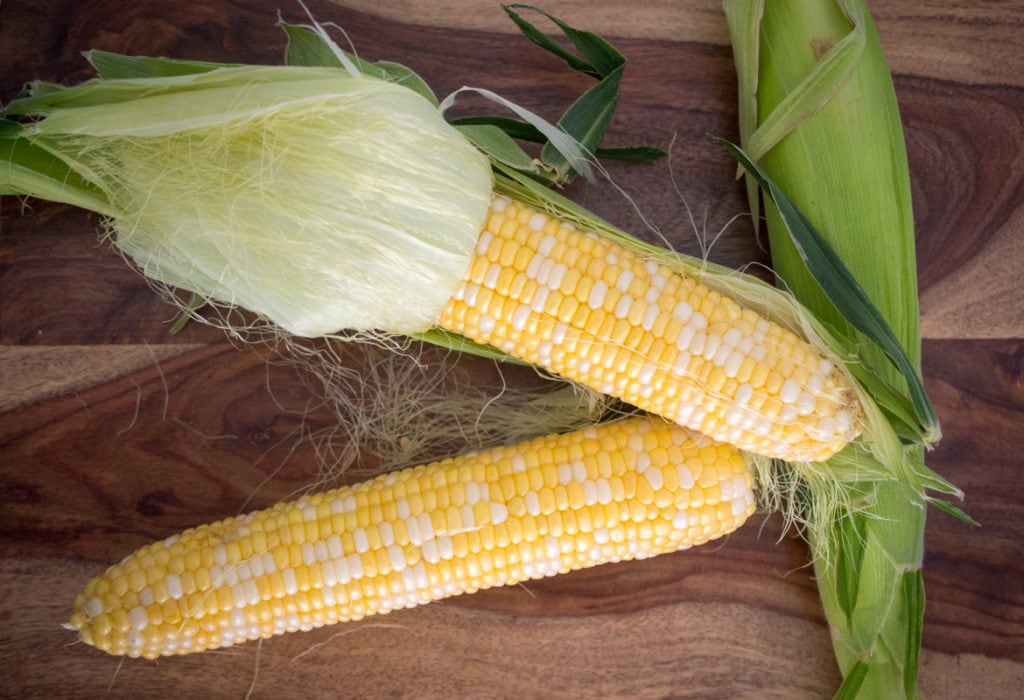
- Shuck the corn or remove the husk and corn silk.
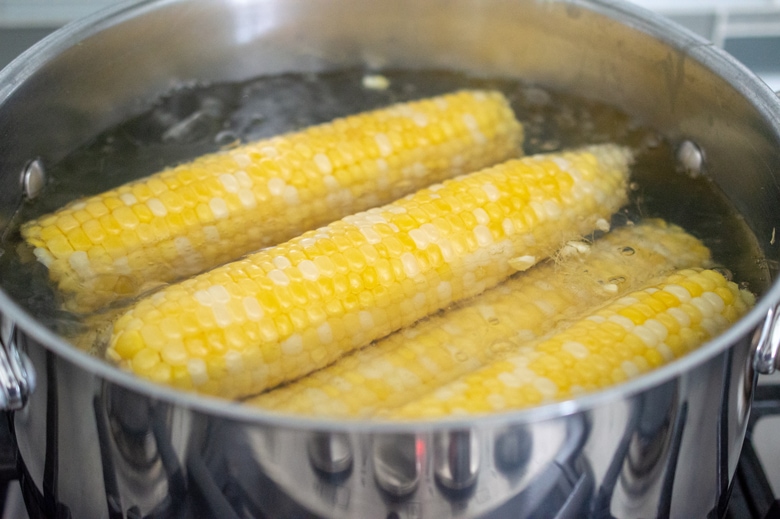
- Once the water is boiling, use tongs to carefully add the corn cobs.
- Boil for 6 minutes. Don’t wait for the water to come back to a boil before starting the timer. You only need to blanch the corn, not fully cook it.
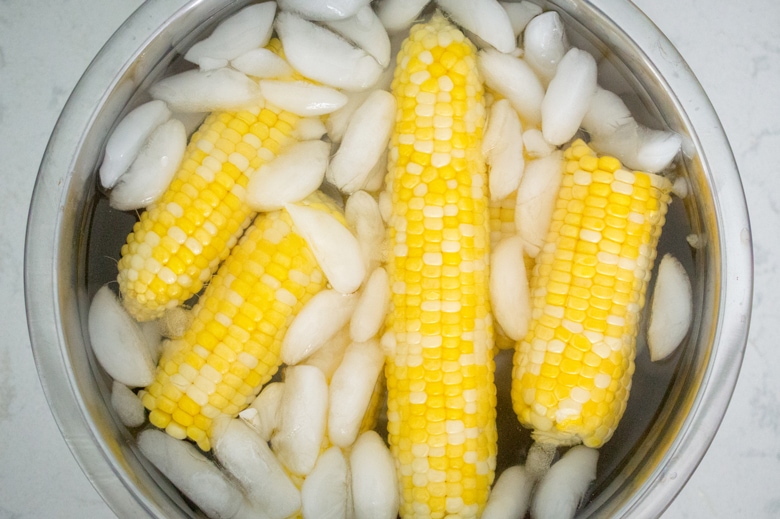
- Remove cobs and place them into a big bowl of ice water for a few minutes. This stops the cooking process and preserves the corn’s texture.
- Cut the corn kernels off the cob (see additional notes below)
This is the most traditional method. Blanching the corn preserves its flavor and texture, and it will kill any germs that are potentially on the corn kernels. With any kind of food preservation, it’s important to make sure your work surfaces, equipment, and hands are absolutely clean. Another advantage of blanching the corn is that it will keep its flavor longer in the freezer. Blanched corn will stay fresh in the freezer for about 12 months, while raw corn will lose quality after six months.
CUTTING CORN OFF THE COB
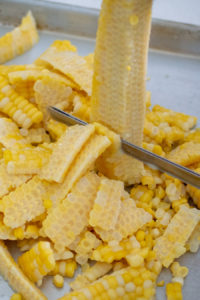
I like to use an electric carving knife for this task. Using an electric knife is not an everyday occurrence, but for a job like this it comes in VERY handy. I use it for jobs like cutting corn, slicing a whole loaf of bread, or carving a Thanksgiving turkey. If you don’t have an electric carving knife, you can use a regular serrated knife.
Cutting the juicy kernels from the cobs is the messy part of the process! Wear an apron. Don’t try to cut 100 percent of the corn from the cob, because you don’t want tough, inedible pieces of cob stuck to your corn kernels. Aim to cut off 2/3 of the corn kernel.
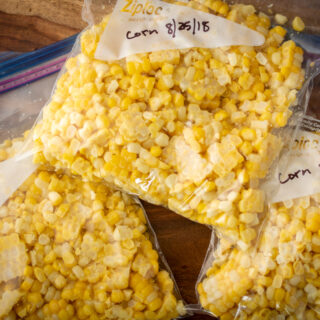
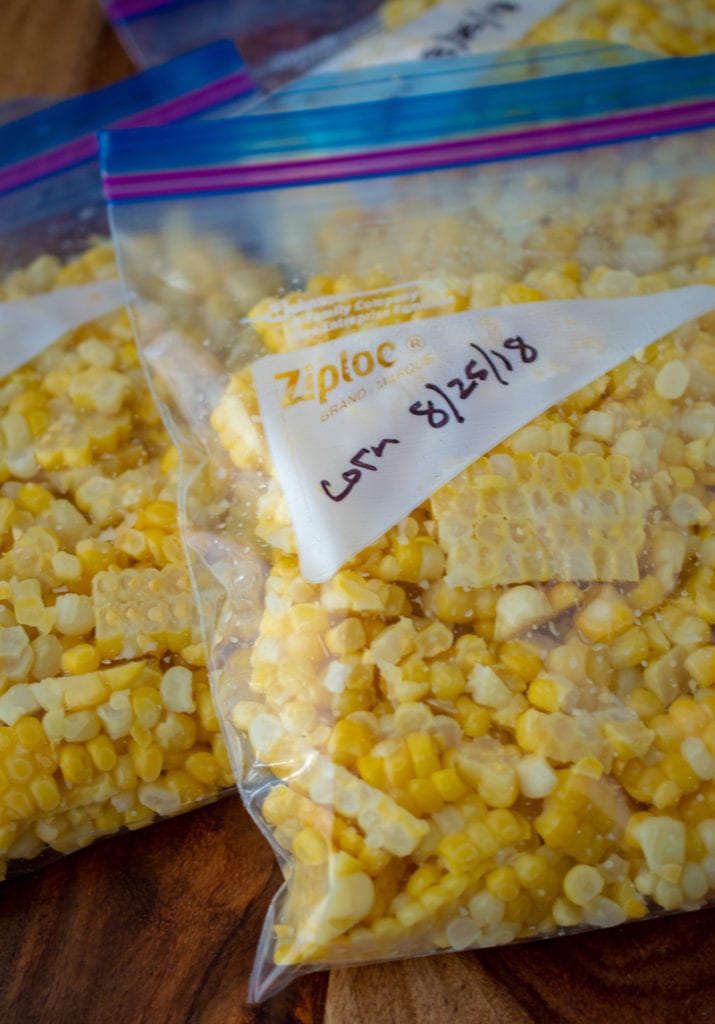
Once your corn is cut, you can store it in zipper-type freezer bags. Get freezer bags, because they are thicker and tougher than short-term storage bags. Use a food scale to measure out one-pound bags of corn, it takes four medium or large ears of corn to get one pound of kernels. This is equivalent to about three cups, which is the right amount for a family of four.
Press the air out of the bags, seal them tightly, and put them in the freezer. Perfect for future salads, salsas, and roasting.
2. HOW TO FREEZE UNCOOKED CORN ON THE COB
- Shuck the corn.
- Stick in a zip lock freezer bag and remove any unnecessary air.
- Place in the freezer.
This is the faster and easier option and should only take a few minutes and you’re done. While blanching is my personal preference, it’s not 100 percent necessary.
How to cook frozen corn on the cob
- First, bring water to boil in a large pot.
- Use tongs and place frozen corn in the boiling water.
- Cook for 3-5 minutes.
3. HOW TO FREEZE UNCOOKED CORN KERNELS
- Shuck the corn.
- Cut off the uncooked kernels into a large bowl
- Place spoonfuls of kernels into freezer bags.
- Remove as much air as possible, seal, toss in the freezer.
This method also requires no cooking and is handy for any future recipes requiring uncooked corn. Plus, no need to worry about overcooking.
How To Cook Frozen Corn
- First, thaw corn (in the refrigerator or microwave).
- Lightly sauté with a little butter and olive oil until the corn is heated through.
Note: Try not to overcook the corn, it will get tough. If desired, add chopped onions and peppers.
I love having fresh summer corn stored in the freezer to eat when corn season is over. Frozen corn from the supermarket is fine, but fresh, locally grown produce is so much better.
Related Recipes
And if you’re looking for additional corn dish inspiration, feel free to check out this delicious cornbread recipe. Another one of my personal favorites is this smoked t bone steak recipe with corn on the side.
How to Blanch and Freeze Fresh Corn
Equipment
Ingredients
- Fresh corn on the cob
- Water
- Ice
- Zipper-type freezer bags 1 quart size
Instructions
- Remove the husks and silk from the corn cobs. Cut off any brown or mushy spots.
- Bring a large pot of water to a boil.
- Use tongs to place the corn cobs in the boiling water. Set a timer for six minutes. You do not need to wait for the water to return to a boil before starting the timer.
- Meanwhile, prepare a large bowl of ice water.
- Once the corn has been in the boiling water for six minutes, use tongs to transfer it to the ice water.
- Leave the corn in ice water for about five minutes or until cooled.
- Cut the corn kernels from the cob by placing each ear of corn vertically on a cutting board or baking tray, then cutting from top to bottom with a serrated knife or electric carving knife. Aim to cut off 2/3 of the corn kernel so you don't have pieces of cob stuck to the corn kernels.
- Using a food scale or measuring cup, place one pound or 3 cups of corn in each freezer bag. Four medium/large ears of corn will yield one pound of kernels.
- Press the air from the bags, seal them tightly, and place in the freezer.
Expiration: Blanched frozen corn will stay fresh for up to ten months.
Notes
Nutrition
Disclosures: The author was not compensated by any person or company for the content of this post. The post may contain affiliate links. If you buy a product using these links, we receive a commission. This helps with the cost of publishing recipes on this website.
For more recipes like this one, follow us on Pinterest, follow us on Twitter or like us on Facebook.
Photos by Marsha Maxwell, 5 Second Studio/Shutterstock.com Creative Family/Shutterstock.com.








Leave a Reply