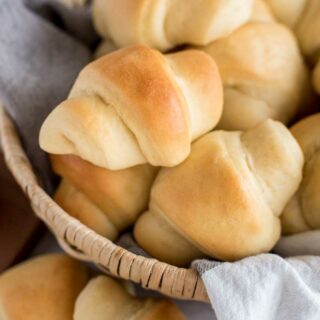
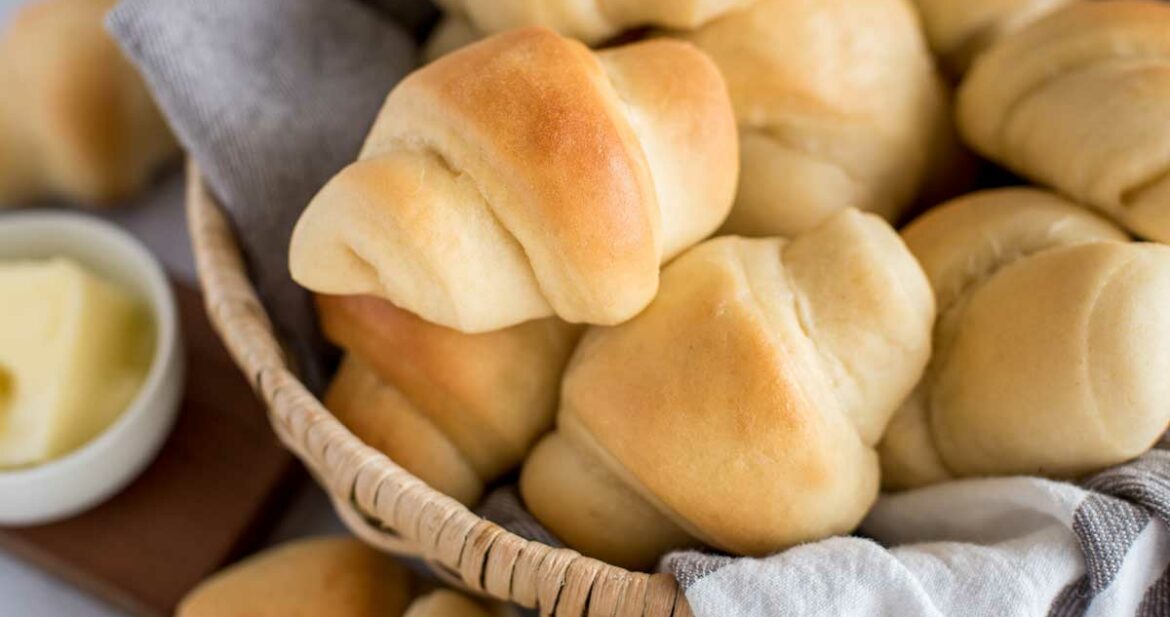
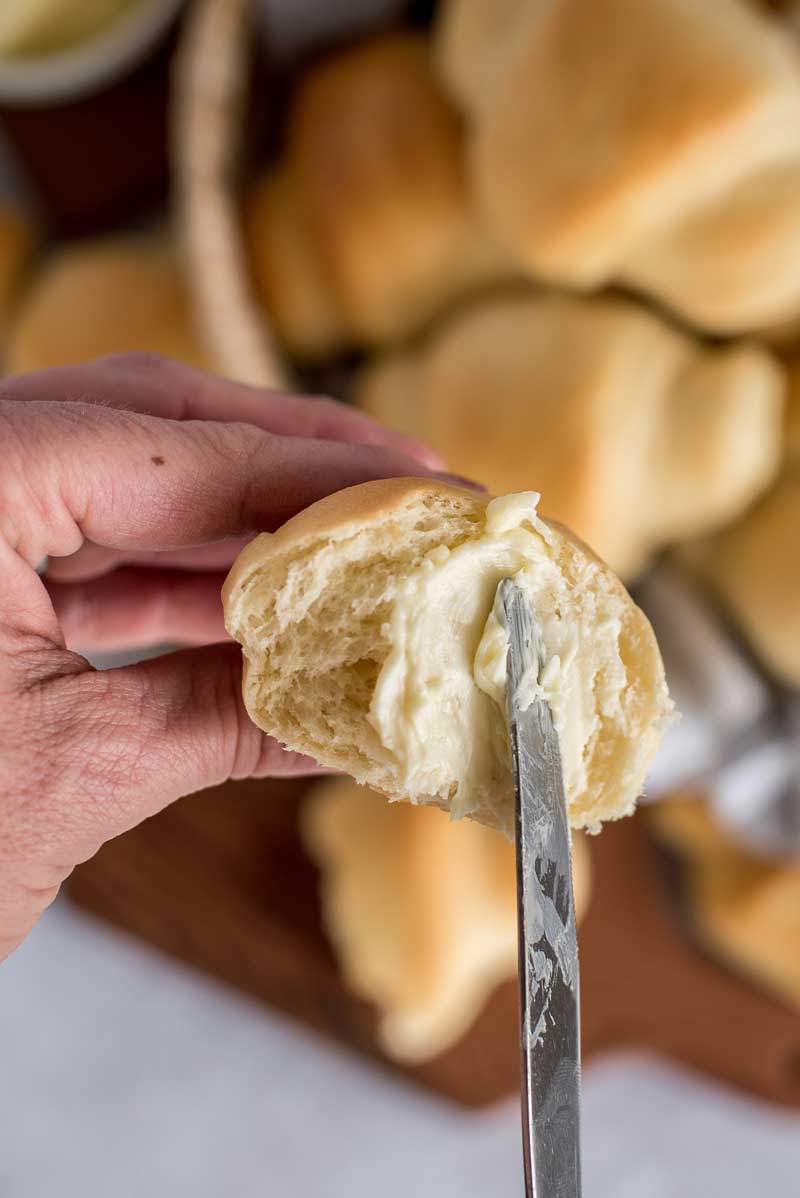
The dough for these homemade crescent rolls contains butter, eggs, and sugar, so it’s rich and slightly sweet. A rich bread dough is one that contains dairy, eggs, and sugar in addition to yeast, water, and salt. Rich bread doughs usually take a long time to rise, and during that time they develop a soft, pillowy texture.
When I was growing up, my grandma Irene would be the one to make these homemade crescent rolls every Thanksgiving and Christmas. She kept the recipe a closely guarded secret, and she was extra fussy about achieving exactly the right shape and texture. According to family lore, she would let the rolls rise in a hollow space under the porch, which she knew would be the perfect temperature at Thanksgiving time.
Grandma Irene is 96 now, so a while back, she passed on the roll-making duties to my Aunt Shar, who became the family’s roll-making expert. Not long ago, Aunt Shar passed this secret family recipe on to me and my daughters.
Assembling ingredients and equipment
To make your homemade crescent rolls, you need the following equipment:
- Stand mixer (optional – you can mix the dough by hand with a wooden spoon)
- Large bowl
- Non-stick cooking spray
- Plastic wrap
- Waxed paper or parchment paper
- Clean kitchen towel
- Two baking sheets
- Pastry mat (optional)
- Rolling pin
- Pizza cutter
- Pastry brush
One secret to successful baking is to assemble your ingredients and equipment ahead of time. That way you’ll be able to get the timing right and remember all the ingredients. If I try to get the ingredients out of the pantry one at a time, I always seem to forget something!
Melt your butter first, because you’ll want time for it to cool a little before adding it to the dough. The melted butter should be warm but not hot.
Proofing the yeast and starting the dough
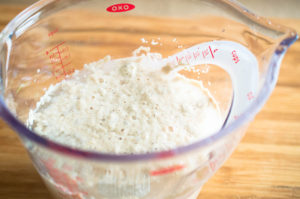
Begin the process by “proofing” the active dry yeast in warm water. Sprinkle the yeast over the water, add a little sugar, and let the mixture sit for 5-10 minutes until it bubbles. You can proof the yeast in a measuring cup, as I’ve done here, or pour the water, yeast, and sugar directly into the mixing bowl.
Proofing is a way of making sure your yeast is still active. When added to warm water, the yeast expands and begins to form bubbles. The way my mom explained it to me when I was a little girl is that yeast is alive, and when you put it in water it grows.
The water temperature should be about 95 degrees, or body temperature. When I first started baking bread on my own, I couldn’t get it to rise properly, and it was always dense and flat. Finally, a friend told me my water was too hot. I was killing the yeast! The water shouldn’t feel like hot bath water but should be just a little warm. Use a thermometer to check the water temperature until you get used to what 95 degrees feels like.
Once the yeast is ready, start the dough by adding the butter, sugar, beaten eggs, and salt. Mix with the dough hook of the stand mixer. If making the dough by hand, stir everything together with a wooden spoon.
Measuring bread flour
It’s important to measure your flour correctly, to get a dough that is the right consistency. The most accurate way to measure flour is to use a food scale. A cup of flour should weigh 125 grams.
Estimates for the correct weight of a cup of flour range between 120 and 130 grams. I use a measurement of 125 grams.
To measure flour accurately without a scale, spoon the flour into a measuring cup, then level off with a knife. This useful article will help you understand how to measure flour:
The Proper Way to Measure Flour
Adding flour to the dough
Once the yeast, water, sugar, eggs, butter, and salt are mixed, you can start adding the flour. Add the flour one cup at a time, and mix until the dough starts to pull away from the sides of the bowl. This will take between four and five cups of flour. If you want to see what this looks like, watch the recipe video.
Brands of flour differ in their ability to absorb water. That’s why the recipe calls for 4-5 cups of flour. For reference, I usually use five cups of Gold Medal bread flour.
Rise overnight (or up to three days) in the refrigerator
After the crescent roll dough is mixed and is pulling away from the sides of the mixer bowl, you can transfer it to another large mixing bowl that has been sprayed with nonstick cooking spray. Spray the top of the dough with cooking spray, and cover the top of the bowl with plastic wrap.
The crescent roll dough will be sticky, so don’t be alarmed. After it chills and rises overnight, it will be a perfect texture for rolling, and you won’t have any trouble with it!
The dough should rise in the refrigerator for at least six hours. You can let it rise for anywhere from six hours to three days. Yes, you really can leave it in the fridge for three days! I’ve done this myself, and the rolls turned out perfect.
Rolling the dough
After the crescent roll dough has risen, it’s ready for rolling and shaping. This recipe makes 24 homemade crescent rolls.
Divide the dough in half, and dust your rolling surface with flour. A nonstick pastry mat is super helpful for this. My pastry mat has various size circles already printed on it, so I use it whenever I have to roll dough into a circle.
Making the circle will be easier if you first shape the dough into a disk with your hands. With a rolling pin, roll the disk into a 12-inch circle. Use as much flour as you need to keep the dough from sticking during this process.
Using a pizza cutter, cut the circle into 12 wedges. The easiest way to do this is to cut the circle into fourths, then cut each quarter circle into three pieces.
Shaping the crescents
Brush two baking sheets with melted butter.
To shape the crescents, roll each wedge, beginning with the wide end, and shape into a crescent. The point of the wedge should be tucked under the roll.
If you would like to see a video demonstration for how to roll crescent rolls, I recommend this one:
Please note that the video shows the dough being cut into eight wedges, but you want to cut the dough into 12 wedges.
Let the rolls rise a second time
Put your shaped homemade crescent rolls on the buttered baking sheets, leaving enough space between them so they can expand during their second rise. Cover the rolls with waxed paper that has been sprayed with nonstick cooking spray, then with a clean kitchen towel.
Let the dough rise for two hours. The long time for the second rise is necessary because the dough is chilled. Don’t overdo the second rise. The rolls will puff even more while in the oven.
Baking homemade crescent rolls
Toward the end of the second rise, place a rack one slot above the middle of the oven. You want to bake these rolls a little closer to the top of the oven, because the bottoms tend to brown faster.
Bake the rolls for 10-13 minutes, until they are puffy and lightly browned. I usually bake mine for 12 minutes.
Brushing with melted butter
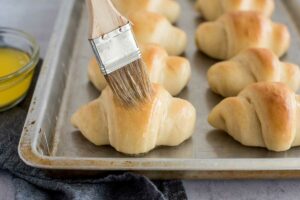
The final step in preparing these homemade crescent rolls is to brush them with melted butter, using a pastry brush.
Freezing crescent roll dough
If you don’t need 24 rolls, you can freeze your crescent roll dough to bake later. Freeze the rolls after they are shaped into crescents. Freeze the rolls in a single layer, on a baking sheet or other flat surface that has been sprayed with nonstick cooking spray. After the rolls are frozen solid (about two hours), you can put them in a zipper-type freezer bag or airtight container.
To bake frozen rolls, place them on a buttered baking sheet. Cover with sprayed waxed paper, then a clean kitchen towel. Let frozen rolls thaw and rise for four hours, then they will be ready to bake.
I hope you love these beautiful homemade crescent rolls! They might become a holiday tradition in your family, like they’ve been in our family for four generations!
Soft Homemade Crescent Rolls
Equipment
Ingredients
- 2 ½ teaspoons 1 packet or 7g active dry yeast
- 1 cup 240ml warm water (body temperature or 96 degrees)
- ½ cup plus 1 teaspoon 104g granulated sugar, divided
- ½ cup 1 stick or 113g butter, melted (not hot), plus more butter for brushing
- 3 eggs lightly beaten
- 1 ½ teaspoons 9g salt
- 4-5 cups 480-600g bread flour, plus more flour for rolling
- Nonstick cooking spray
Instructions
- Pour warm water in a measuring cup or in the bowl of a stand mixer. Sprinkle water with yeast and 1 teaspoon sugar. Allow yeast to grow and bubble for about 5 minutes.
- Add sugar, salt, melted butter, and beaten eggs to yeast mixture. Using the dough hook of the stand mixer, mix briefly to combine (see notes for how to mix the dough without a stand mixer).
- With the mixer on low speed, add the bread flour, 1 cup at a time, until the dough starts to pull together and pull away from the sides of the bowl. The amount of flour needed will vary slightly according to the brand of flour you are using (see notes).
- Spray a large mixing bowl with cooking spray. Transfer the dough to the bowl. It will be very sticky. Spray the top of the dough with cooking spray, and cover tightly with plastic wrap. There should be enough room in the bowl for the dough to double in size.
- Place the bowl with dough in the refrigerator. Let rise overnight, at least 6 hours and up to 3 days.
- Brush 2 baking sheets with melted butter and set
aside. - Remove the dough from the refrigerator, and divide into 2 equal pieces. Sprinkle a rolling surface, preferably a pastry mat, with flour.
- With your hands, shape 1 piece of dough into a
round, flat disc. Using a rolling pin on the floured surface, roll the disc out
into a 12-inch circle. - Cut the circle into 12 wedges. Roll each wedge, beginning with the wide end, and shape into a crescent. The point of the wedge should be tucked under the roll. (See this video for a demonstration, but note that you should cut the dough into 12 instead of 8 wedges: https://www.youtube.com/watch?v=WAgAIe2b-mY).
Place crescents on a buttered baking sheet. - Repeat the rolling and shaping process with the other half of the dough. At this point, shaped rolls can be frozen to bake later (see notes).
- Cover the shaped rolls with waxed paper or parchment that has been sprayed with cooking spray, then with a clean kitchen towel. Let the rolls rise for 2 hours. Do not overdo the second rise. The rolls will puff a bit while baking.
- Toward the end of the rising time, place a rack one slot above the center of the oven. Preheat oven to 350 degrees.
- Bake one sheet of crescent rolls for 10-13 minutes until golden brown. Immediately bake the other sheet of rolls.
Notes
absorb. This recipe was developed using Gold Medal brand bread flour, and the amount needed was 600 grams or about 5 cups. Note 3: Shaped crescent rolls can be frozen to bake another day. Place the tray of rolls in the freezer for 2 hours until the rolls have frozen solid. Transfer the frozen rolls to a zipper-type freezer bag. To thaw and bake frozen crescent rolls, place on a baking sheet brushed with melted butter. Cover with waxed paper or parchment that has been sprayed with cooking spray, then with a clean kitchen towel. Let frozen rolls thaw and rise for 4 hours, then bake.
Nutrition
For more recipes like this one, follow us on Pinterest, follow us on Twitter or like us on Facebook.




[…] Previous Post: « Soft Homemade Crescent RollsNext Post: Slow Cooker Korean BBQ Chicken » […]